
21 DIY Christmas Ornaments (Easy Handmade Ideas)

A tree full of store-bought baubles looks fine, but a tree full of ornaments you made yourself tells a story every time someone looks at it. The best part is that most homemade Christmas ornaments start with things already in your kitchen or craft drawer: flour, oranges, cinnamon, felt scraps, pinecones and twine. These 21 DIY Christmas ornaments are all easy enough for a first-timer, and each one is a project you can finish in an afternoon with the family.
Our DIY Christmas Ornaments List
1. Classic Salt Dough Ornaments
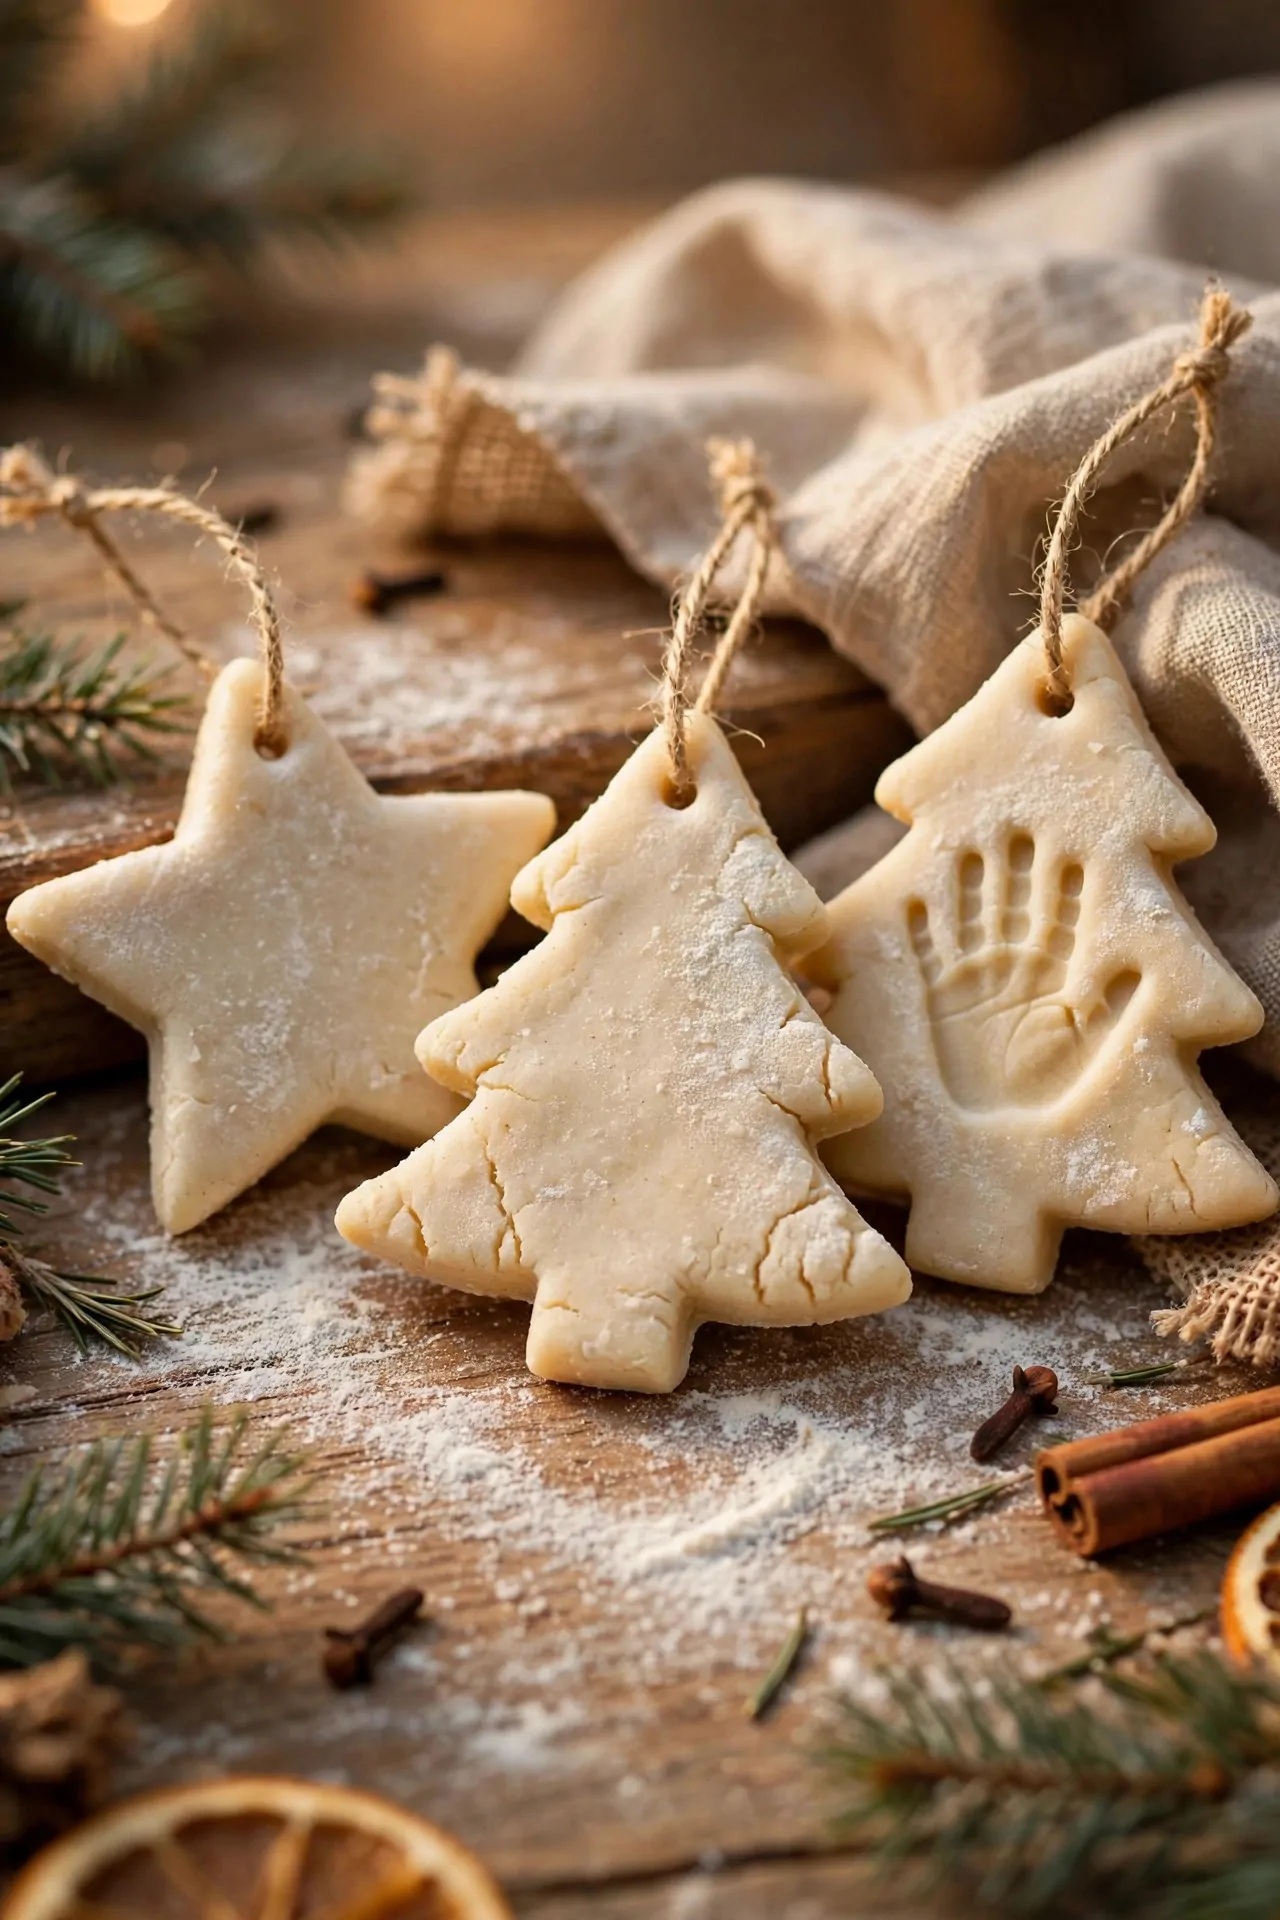
Salt dough is the ornament craft most families start with, because the ingredients are already in the kitchen and the shapes are endlessly customizable. Roll the dough, cut stars, trees and snowflakes with cookie cutters, and press in a name or a handprint before baking so the ornament becomes a keepsake. Homemade Christmas ornaments like these are the ones families keep for decades. Paint them white for a modern look, or gold and silver for something dressier. HGTV’s classic salt dough recipe uses flour, salt and water, baked until golden brown, then sealed with a clear protective coating so the ornaments last for years.
Try this: press the year into the back of each ornament with a toothpick before baking, so you always know when it was made.
DIY variant: make a batch of salt dough stars. Materials: flour, salt, water, cookie cutters, a straw, ribbon, acrylic paint, clear varnish. Steps: 1. Mix the dough and roll it out on a floured surface. 2. Cut shapes with cookie cutters and poke a hanging hole with a straw. 3. Bake until firm and lightly golden, then cool completely. 4. Paint and let dry. 5. Seal with clear varnish and thread ribbon through the hole.
2. Dried Orange Slice Ornaments
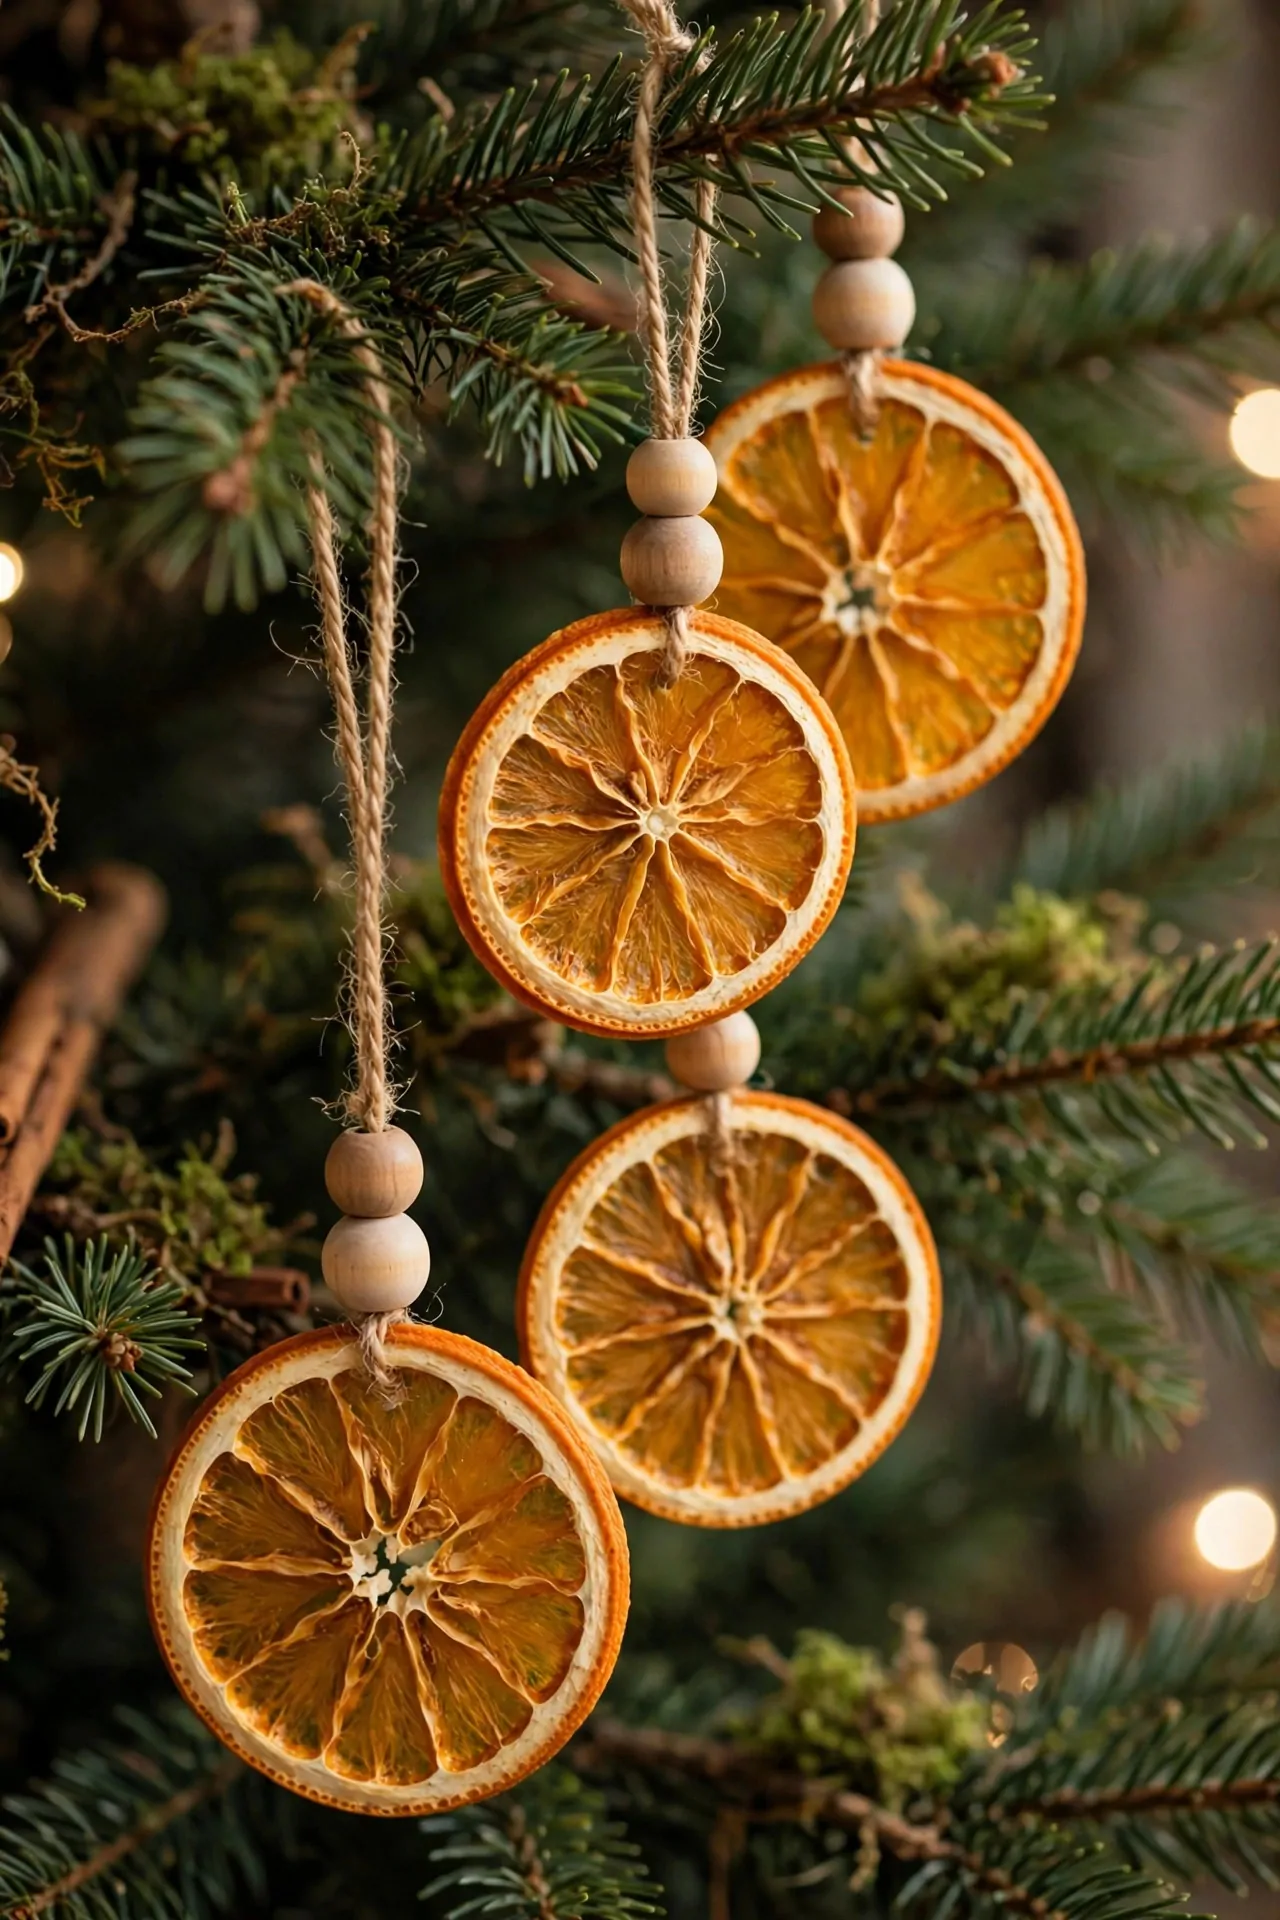
Dried orange slices glow like stained glass when the tree lights hit them, and they cost almost nothing to make. Slice oranges thinly, dry them low and slow in the oven until they turn translucent, then thread twine through the center and hang them on a branch. They smell wonderful, look beautiful against green branches, and the extras work as gift toppers or strung into a garland.
Try this: slide two or three small wooden beads onto the twine above each slice for a finished, layered look.
DIY variant: dry a batch of orange slices. Materials: two or three oranges, a sharp knife, a baking tray, parchment paper, twine, wooden beads. Steps: 1. Slice the oranges thinly and pat them dry. 2. Lay them on parchment and dry in a low oven, turning once, until translucent. 3. Cool completely. 4. Thread twine through the center of each slice. 5. Add wooden beads and tie a loop for hanging.
3. Cinnamon Stick Bundles
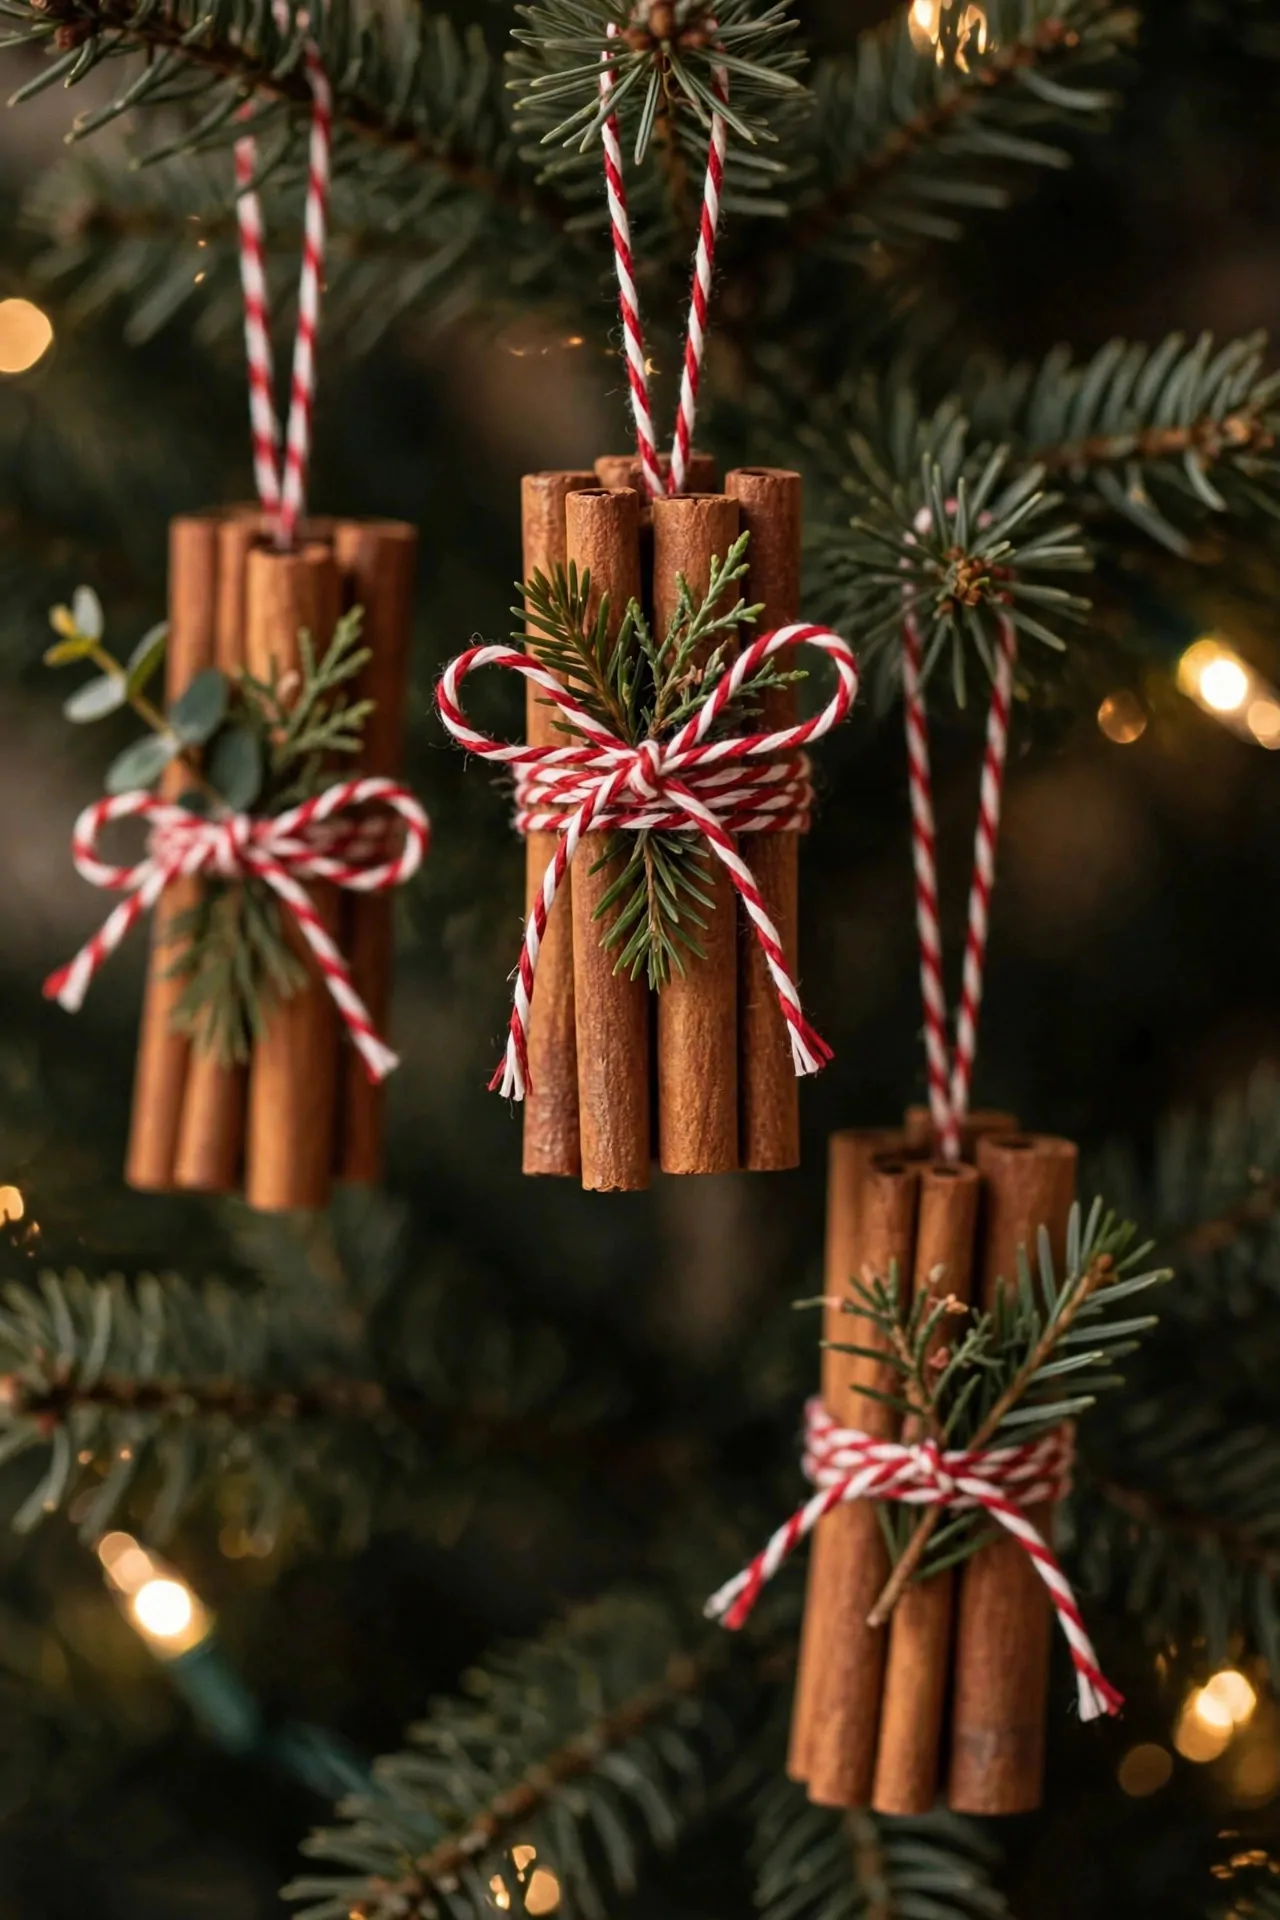
Cinnamon stick bundles are the fastest ornament in this whole list, and they make the tree smell like Christmas. Gather a few cinnamon sticks, wrap red and white baker’s twine around the middle a few times, and tie a small bow. Add a tiny sprig of greenery or a dried orange slice and the bundle looks like it came from a fancy market stall.
Try this: use five sticks per bundle, with the middle one slightly longer, so the shape looks full instead of flat.
4. Cinnamon Applesauce Ornaments
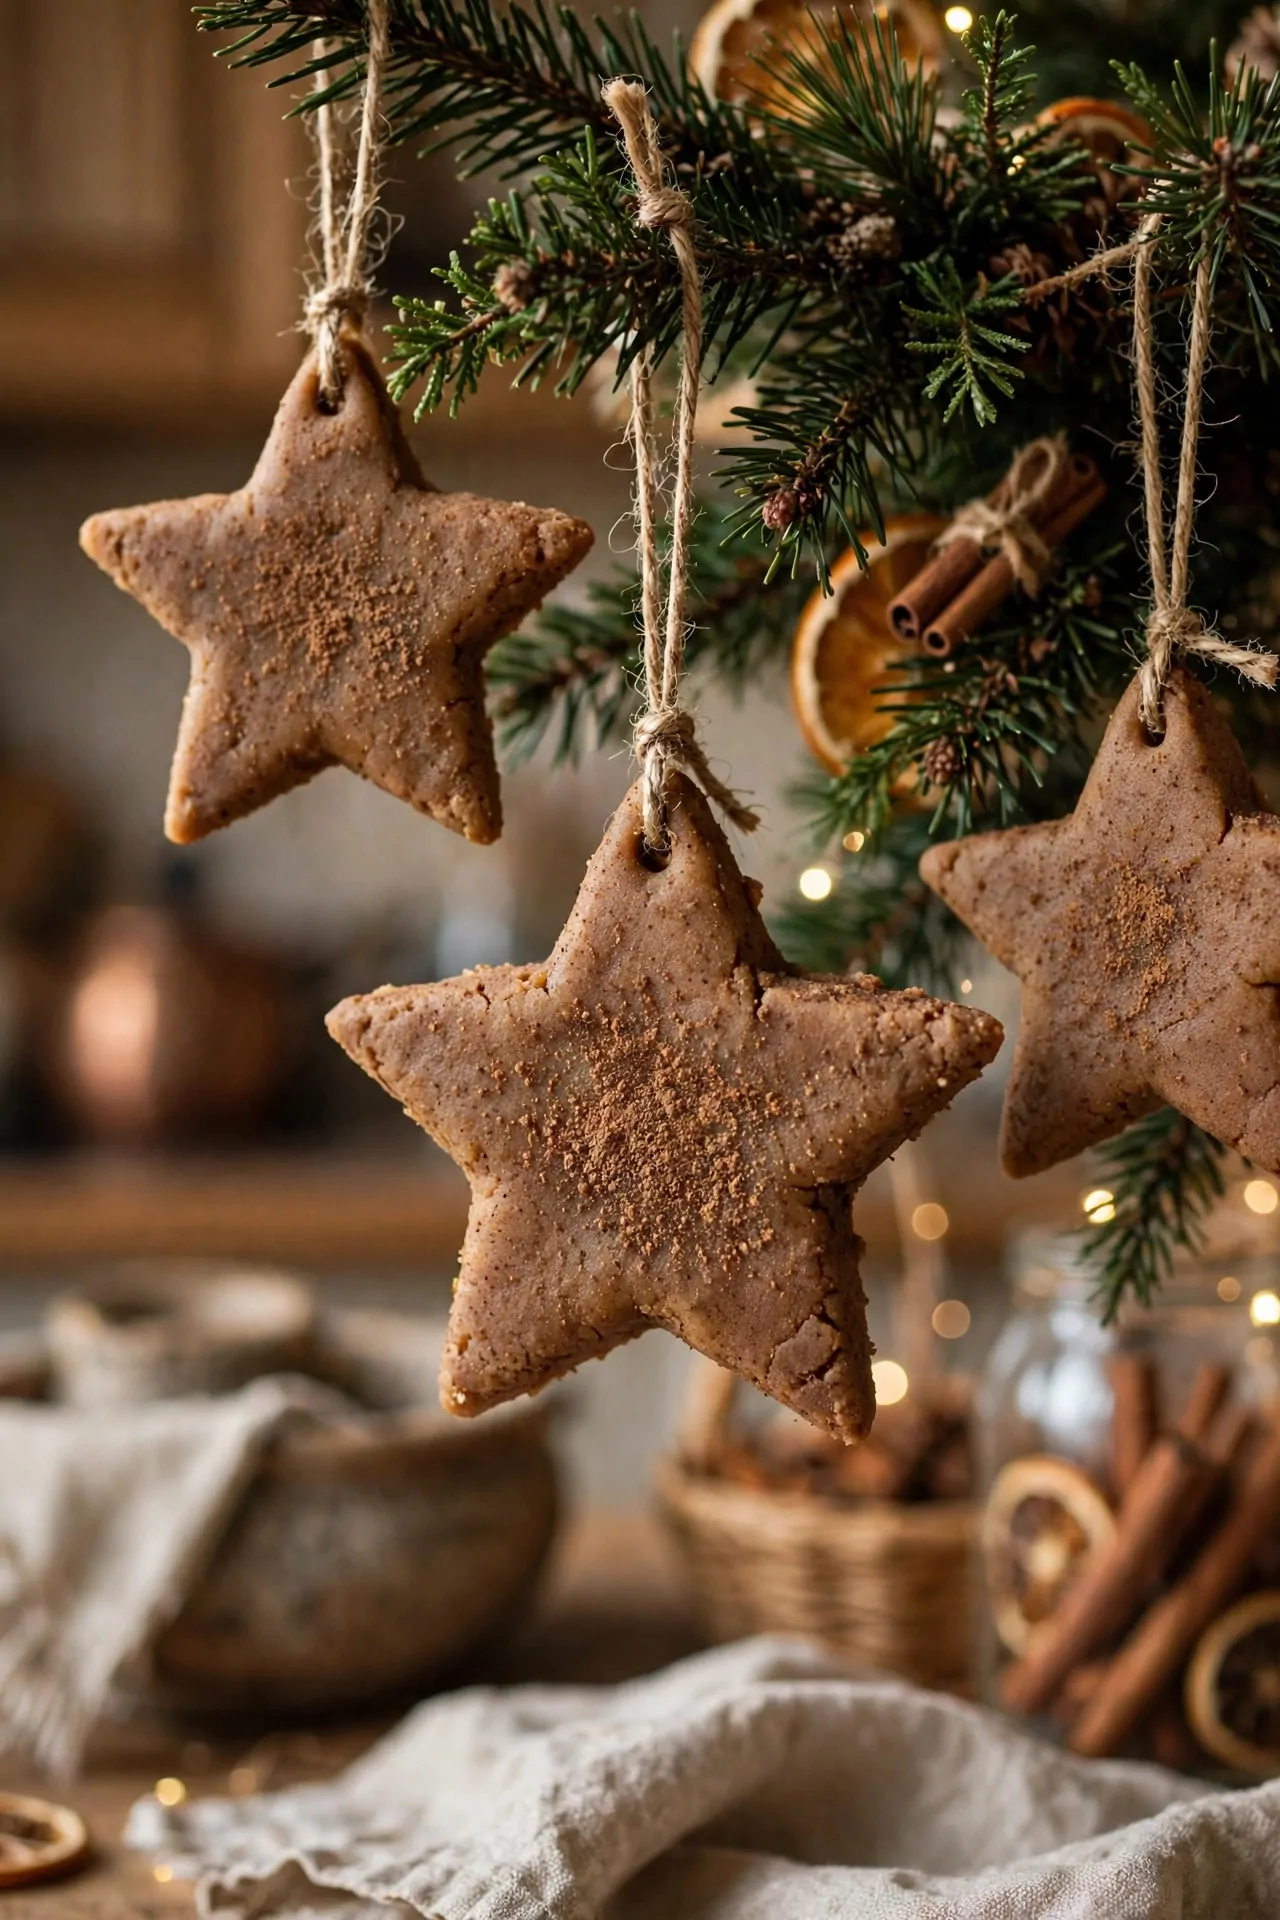
Cinnamon applesauce ornaments look like gingerbread and scent the whole tree. The dough is just applesauce and ground cinnamon mixed into a stiff dough, rolled out and cut with cookie cutters, then left to air dry. They are the low-risk choice for a first dough project because there is no oven involved if you let them dry naturally, and they keep their warm brown color for years.
Try this: cut a small star shape and a small tree shape from the same dough, and hang them as a pair on one branch.
5. Frosted Pinecone Ornaments
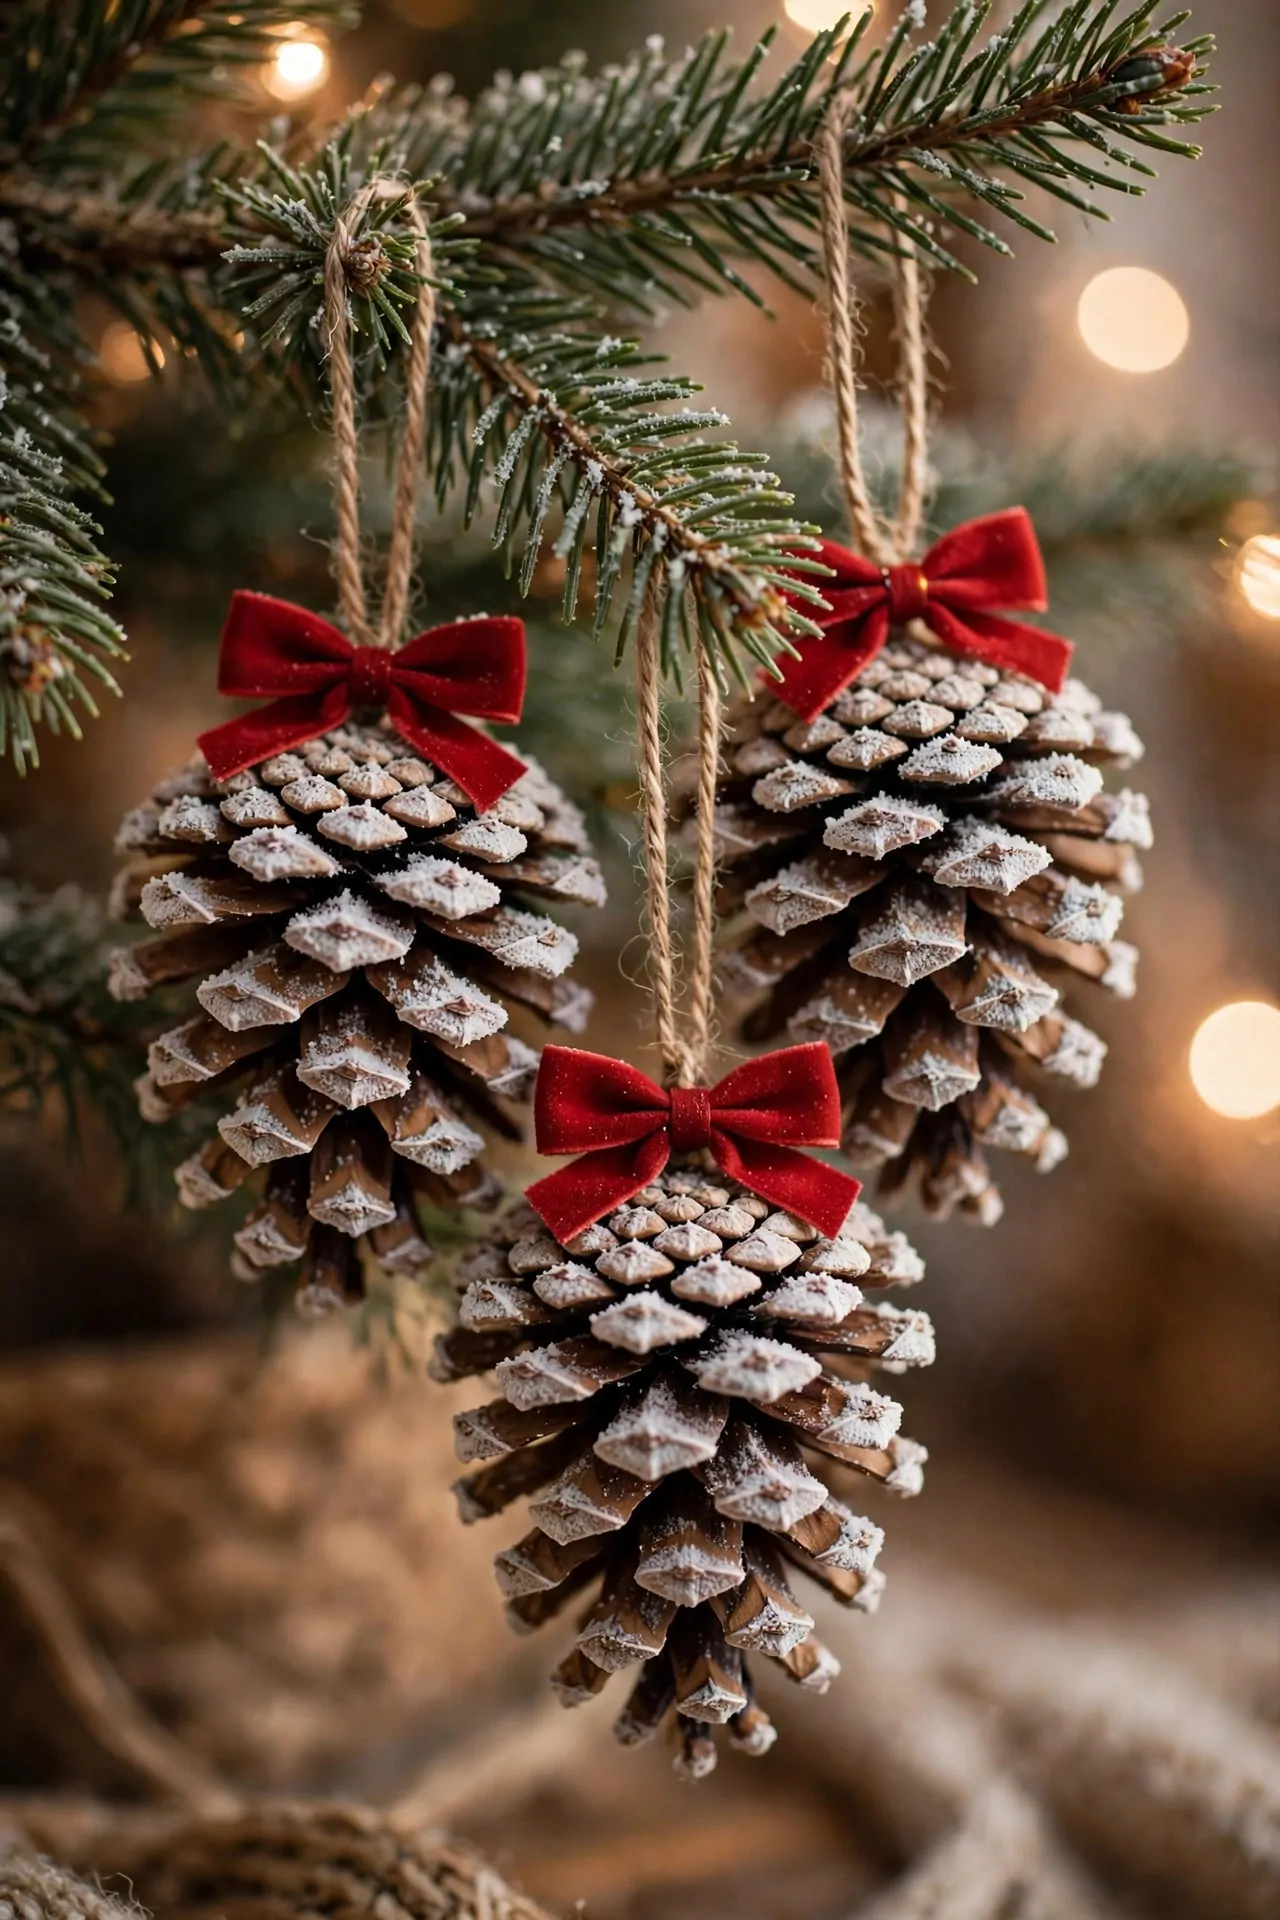
Pinecones are free, and a little white paint turns them into snowy little trees. Gather pinecones, bake them briefly first to open the scales and drive out any insects, then brush the tips of the scales with white paint and sprinkle on a little fake snow while the paint is wet. Tie twine around the base and hang them among the branches for a woodland feel.
Try this: brush the paint only on the outer tips of the scales, leaving the brown showing underneath, so the frost looks natural.
6. No-Sew Felt Star Ornaments
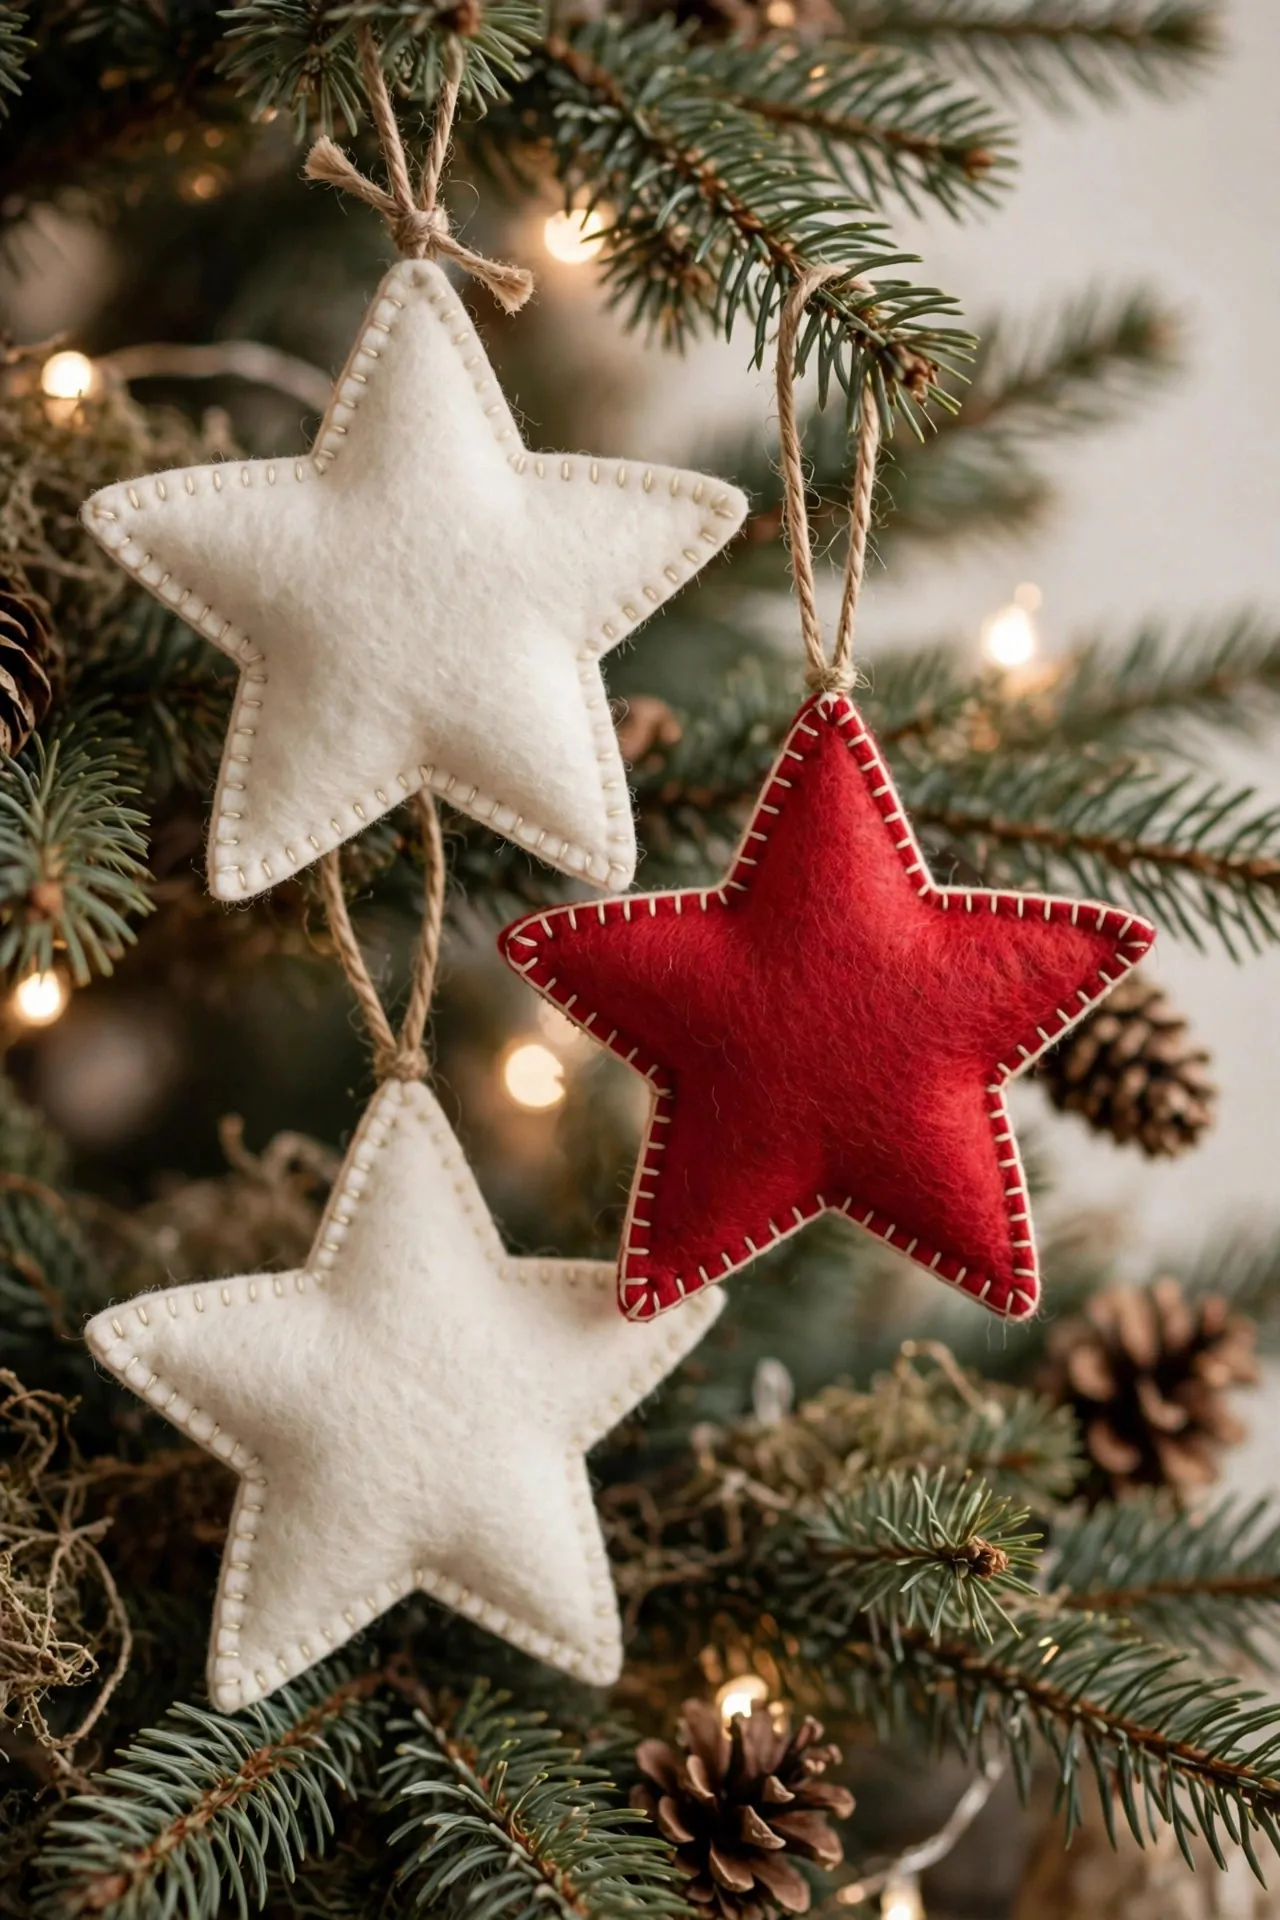
Felt is the kindest material for a beginner, because it does not fray and a line of glue can stand in for stitches. Cut two star shapes from felt, glue the edges together with a loop of twine tucked in at the top, and add a tiny button or a few stitches in the center for detail. Red and cream felt looks classic, while dusty pink and sage green feel fresh and modern. They are easy Christmas ornaments to make in an afternoon, even with little kids helping.
Try this: cut the stars slightly different sizes and hang a big one and a small one on the same branch for a layered look.
7. Felt Gingerbread Ornaments
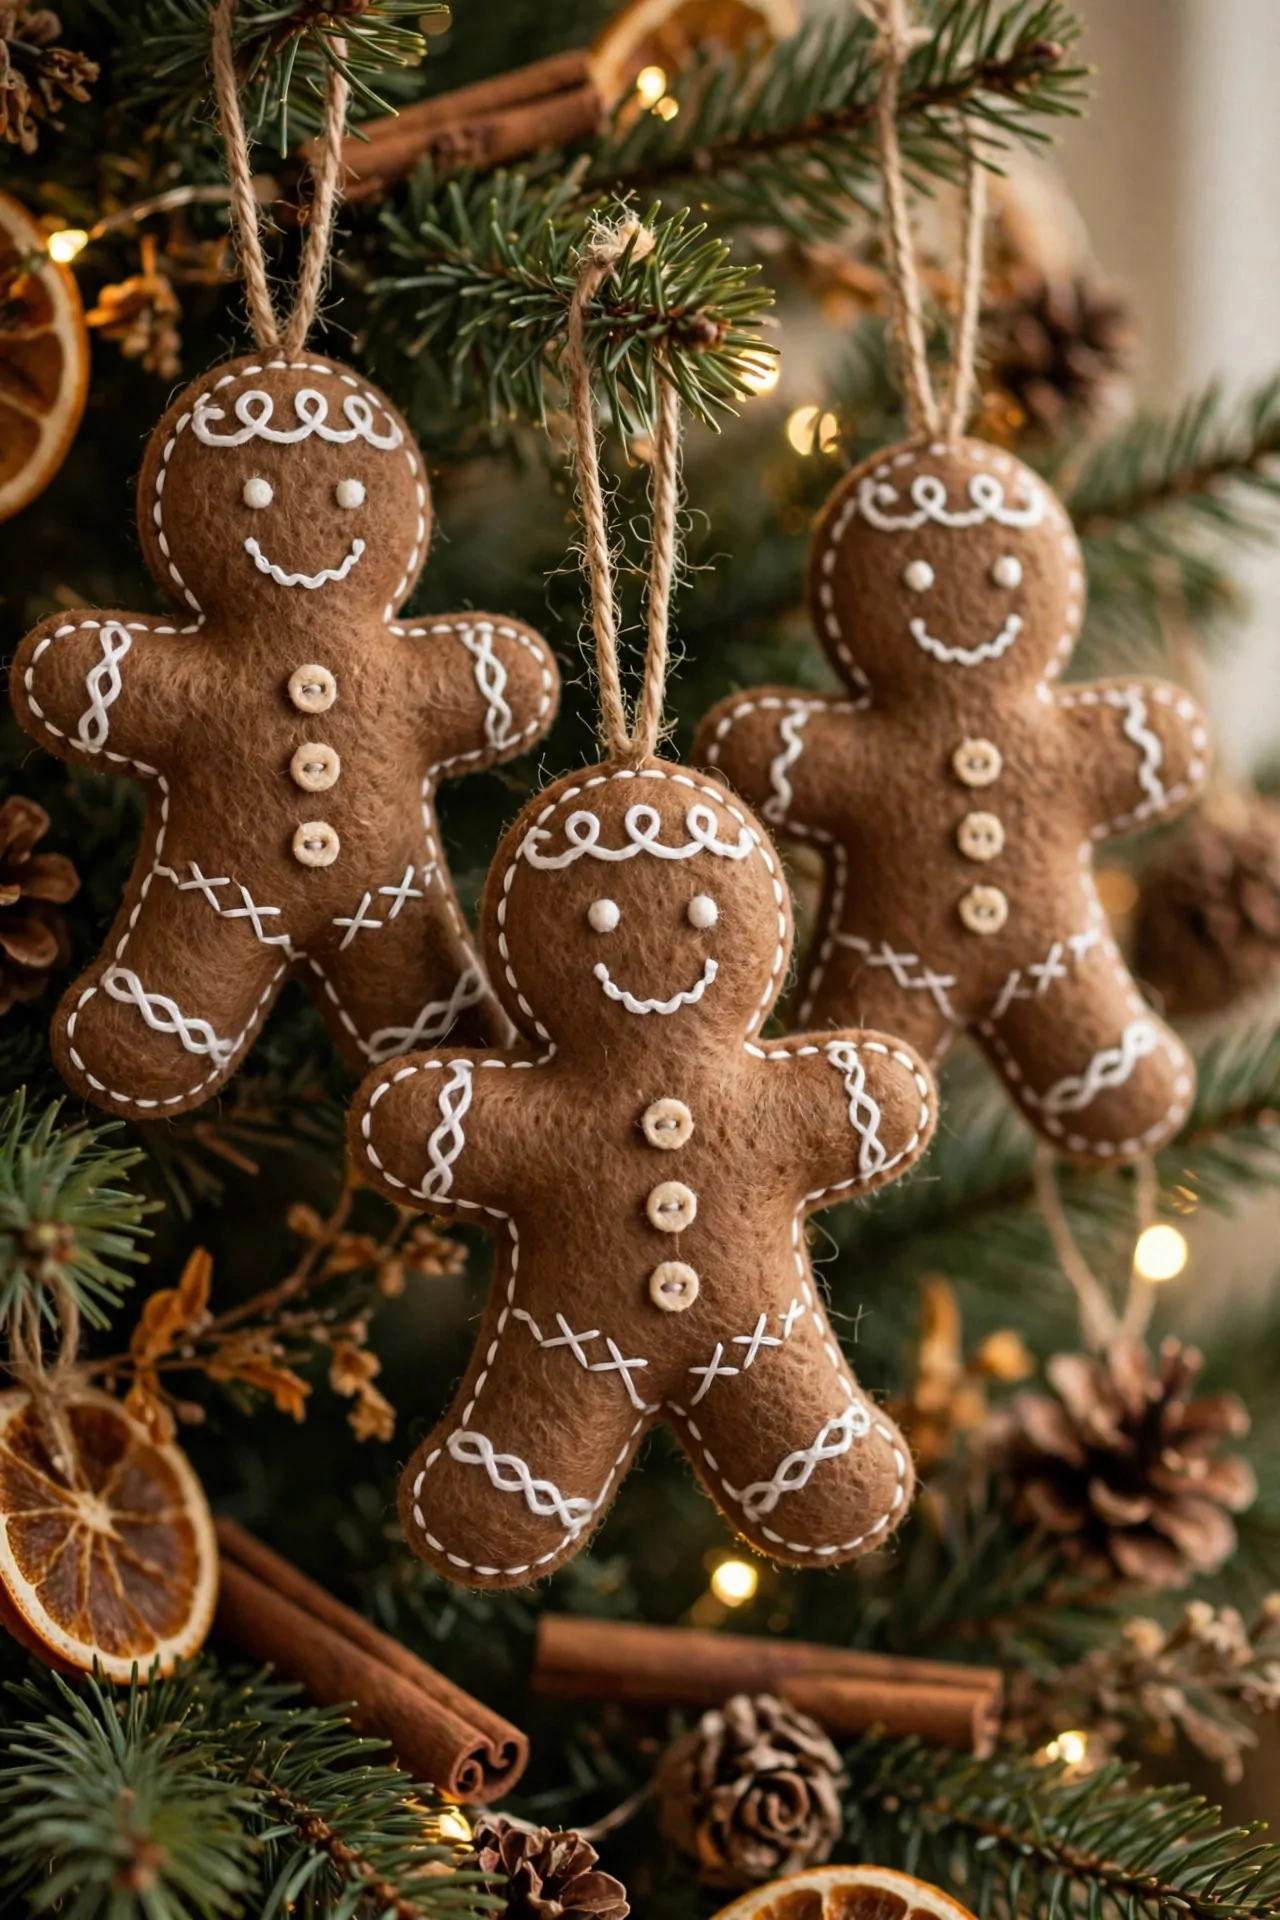
Felt gingerbread men are the cutest ornaments on this list and the easiest to make with kids. Cut the gingerbread shape from brown felt, add white stitched or glued icing lines, two tiny button eyes and a small bow at the neck. They are soft, so they will not break when they are dropped, and they look charming next to the felt stars.
Try this: give each gingerbread a different colored bow, so the tree gets a little pop of color in every corner.
8. Yarn-Wrapped Star Ornaments
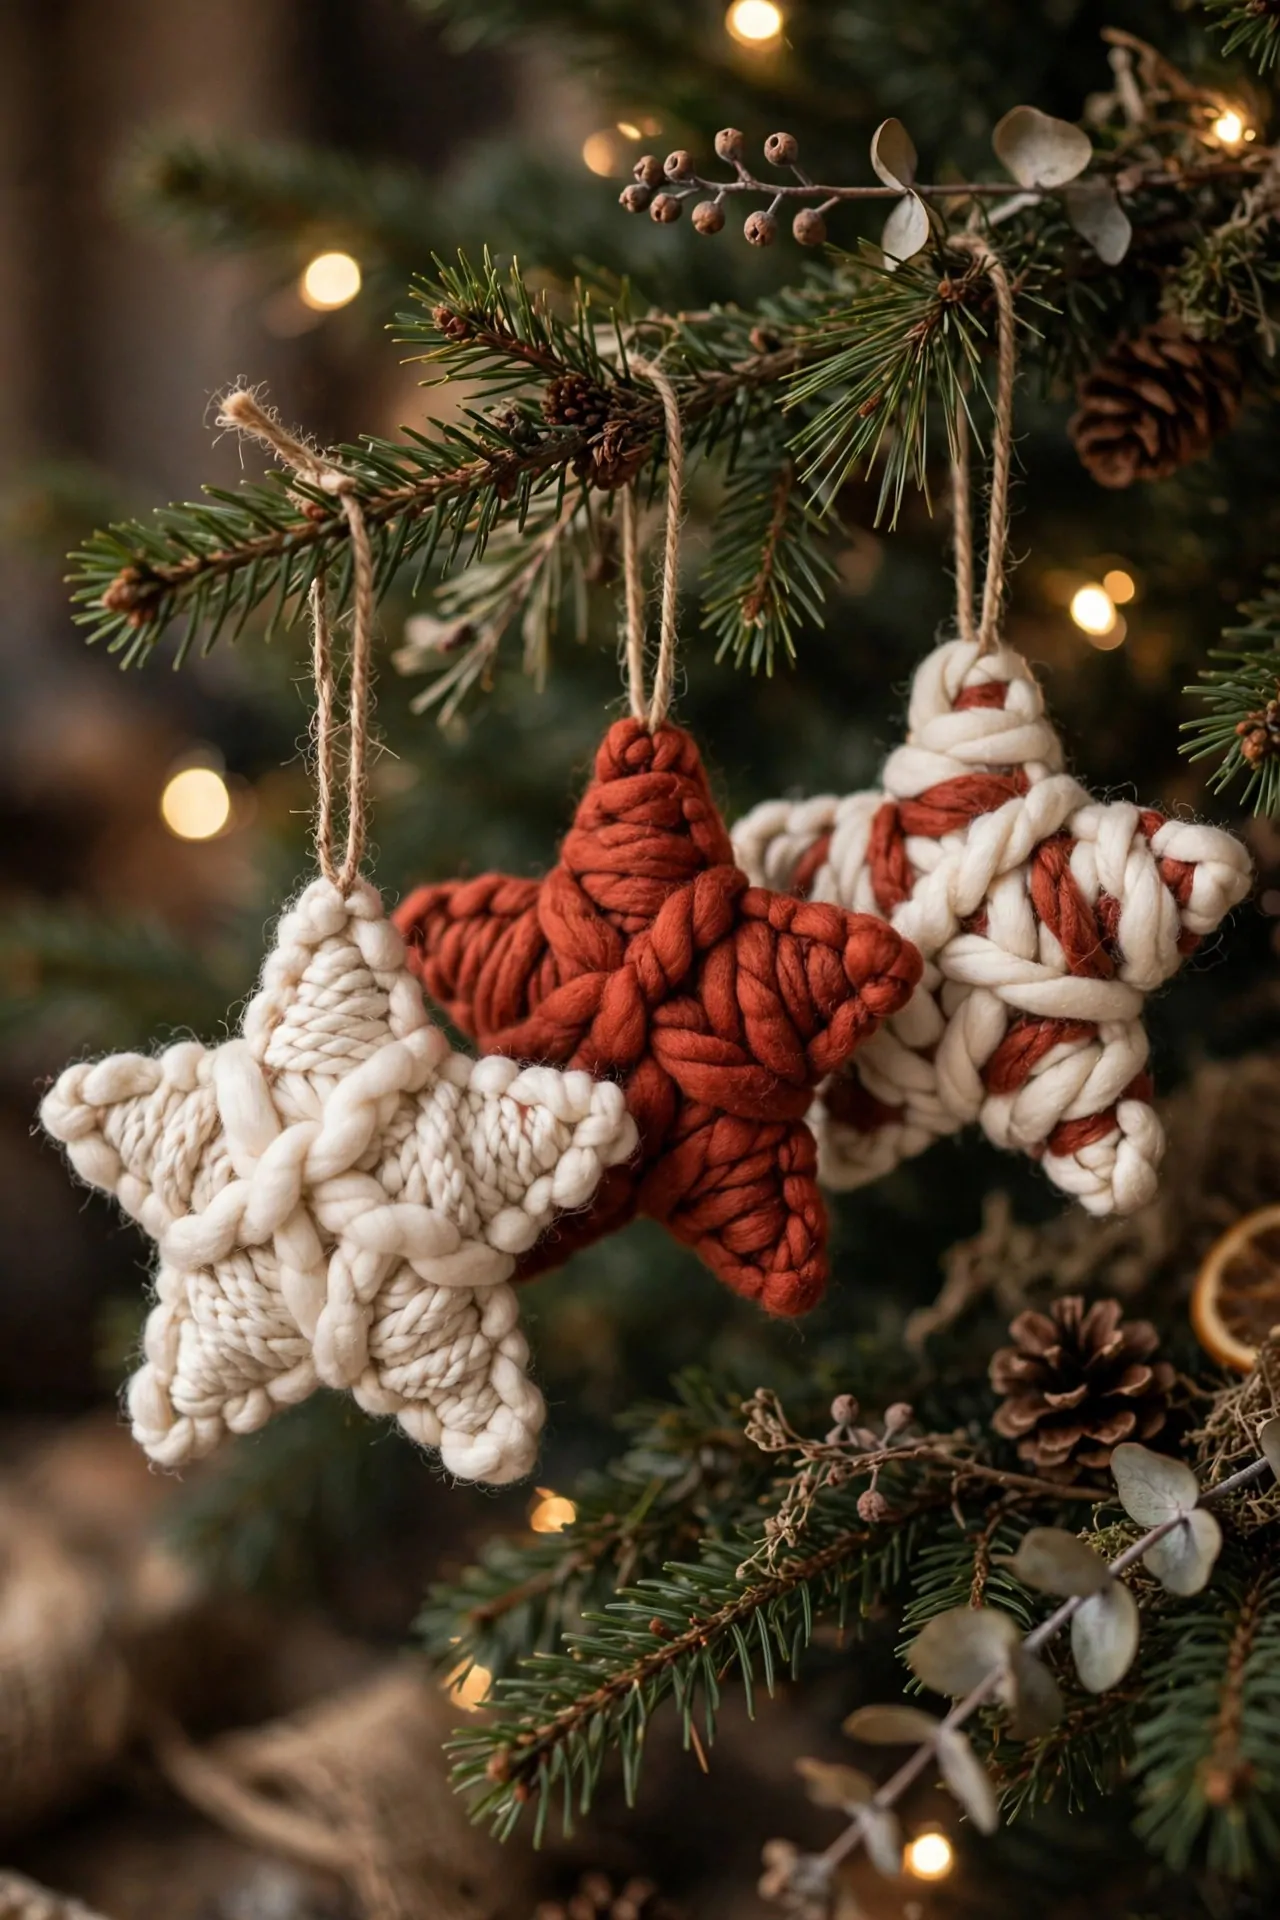
Yarn-wrapped stars turn a simple cardboard cutout into a cozy, textured ornament. Cut a star from cardboard, tie yarn at one point, and wrap it around and around until the cardboard disappears. Cream yarn looks calm and Scandinavian, while rust red or deep green yarn makes the star stand out against the branches.
Try this: wrap the yarn in the same direction the whole way around, so the texture stays neat instead of tangled.
9. Fluffy Yarn Pom-Pom Ornaments
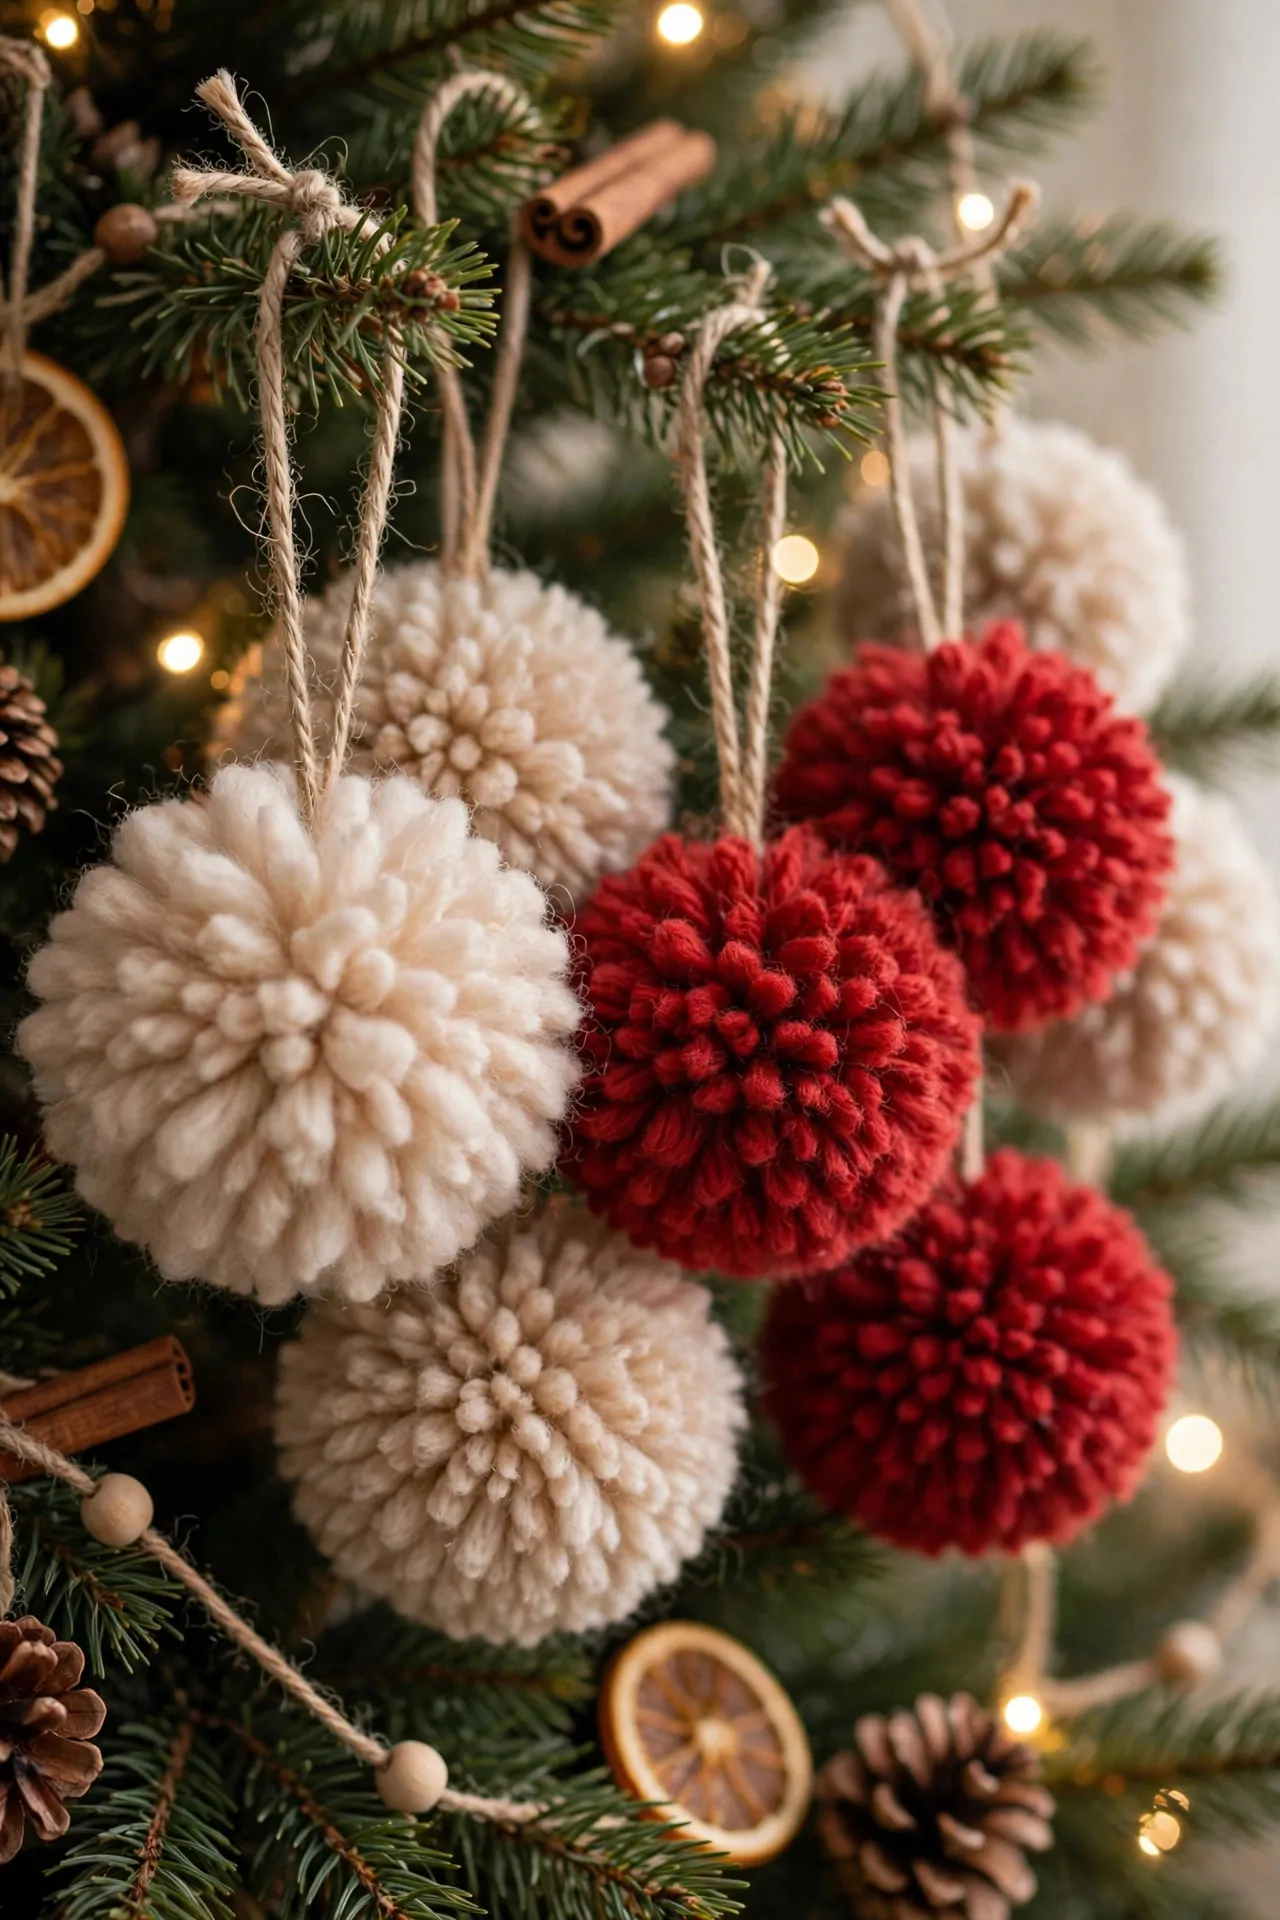
Pom-poms are the easiest ornament in this list, and kids can make almost all of them by themselves. Wrap yarn around a fork or your fingers, tie it tightly in the middle, cut the loops and fluff it into a ball, then tie on a loop of twine. The fuller you wrap, the fluffier the pom-pom, and a mix of cream, red and green pom-poms fills a tree fast.
Try this: make three pom-poms in the same color and hang them in a little cluster instead of spreading them out one by one.
10. 3D Paper Star Ornaments
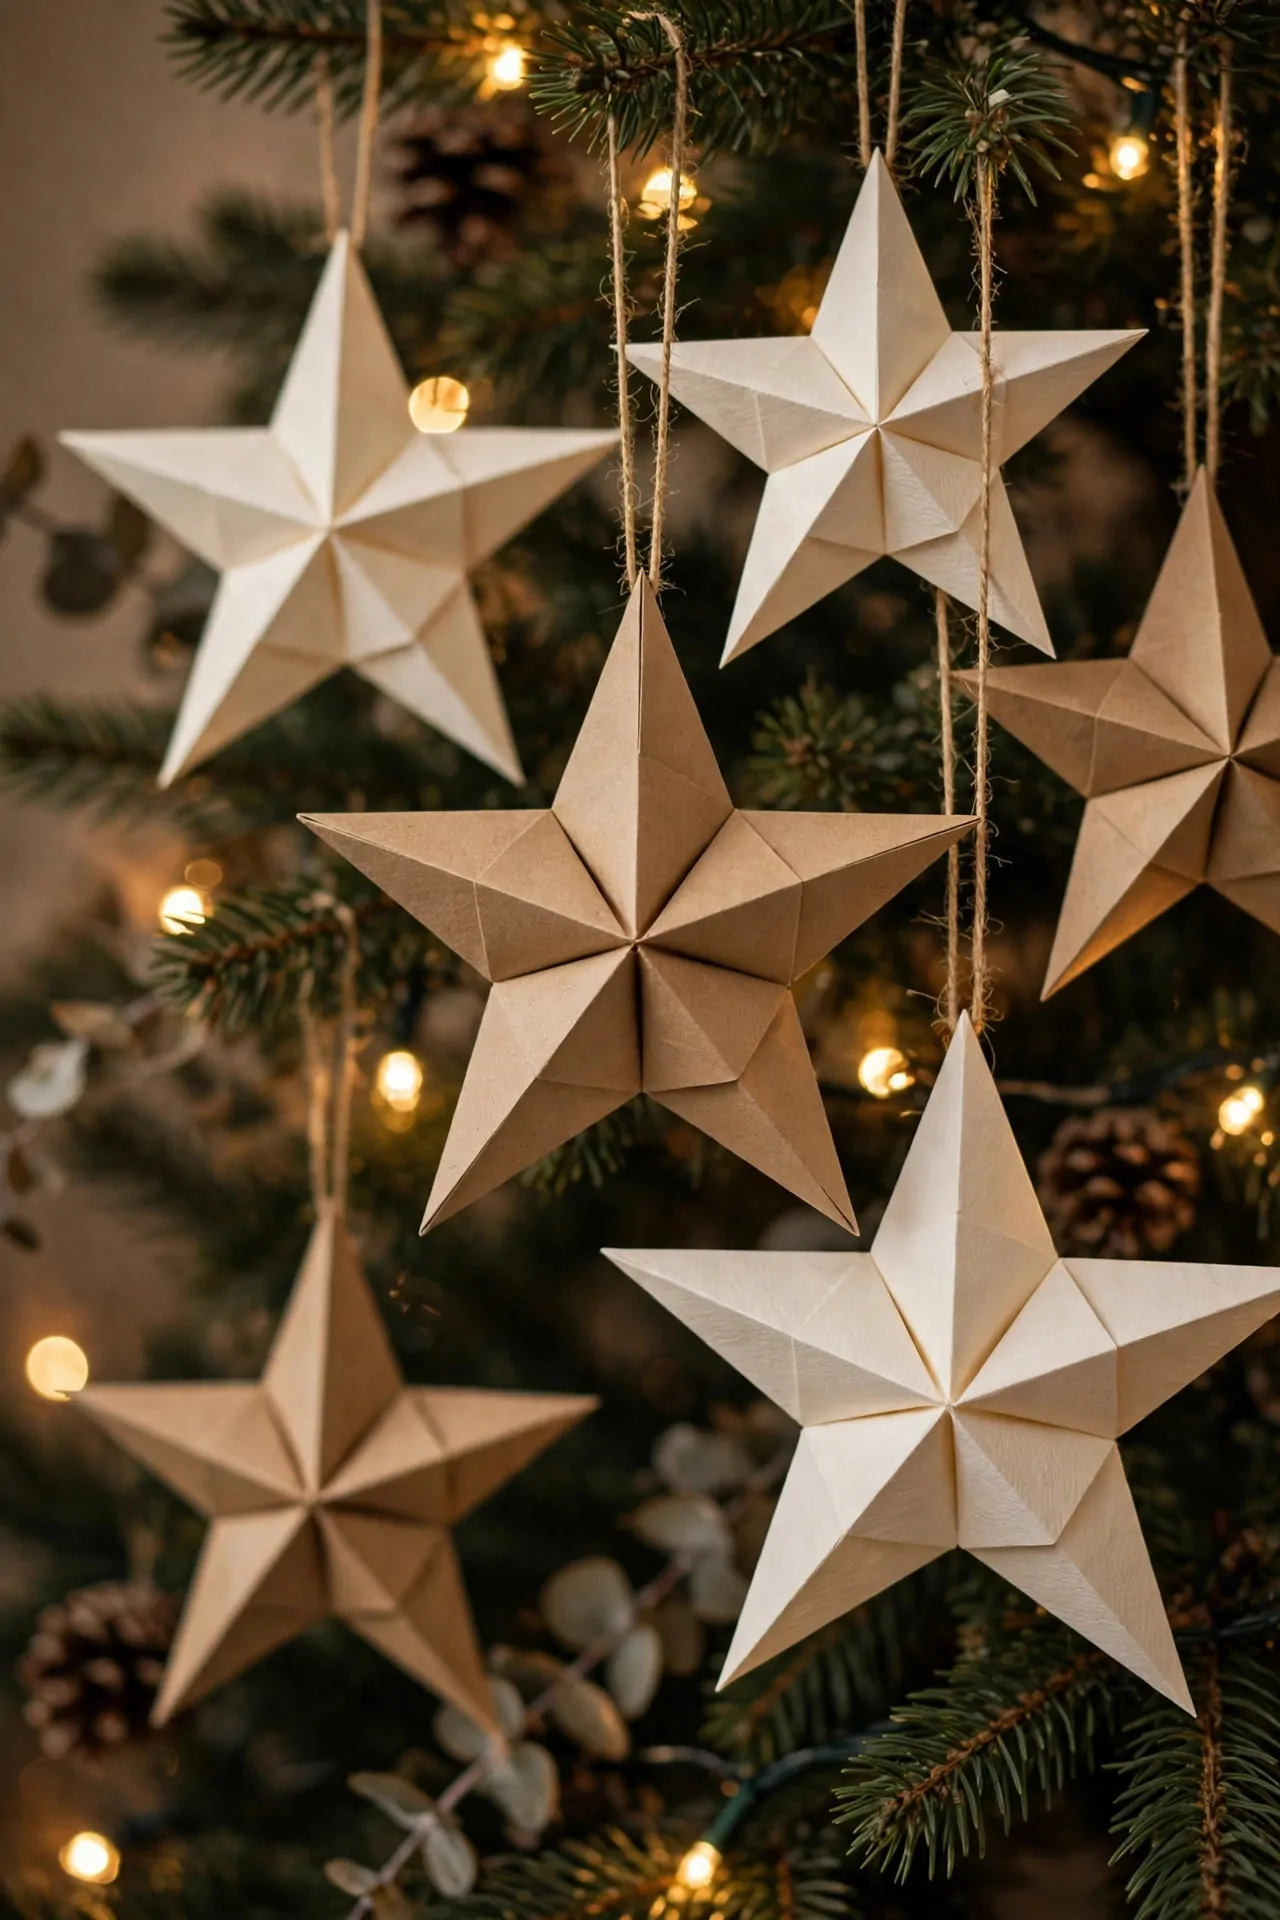
A flat piece of paper becomes a dimensional star with a few folds and a little glue, and the result looks far fancier than the effort involved. Use kraft paper for a rustic tree, cream paper for a calm one, or patterned scrapbook paper for a burst of color. They are light, so they hang beautifully from the thinnest branches, and a whole batch costs almost nothing.
Try this: make the stars in three sizes from the same paper, and hang the biggest one near the top of the tree where it catches the light.
DIY variant: fold a 3D paper star. Materials: card stock or kraft paper, scissors, glue, twine. Steps: 1. Cut five identical diamond shapes from the paper. 2. Fold each diamond in half lengthwise. 3. Glue the folded diamonds together along their edges. 4. Press gently into a star shape and let dry. 5. Thread twine through the top point and hang.
11. Folded Paper Snowflakes
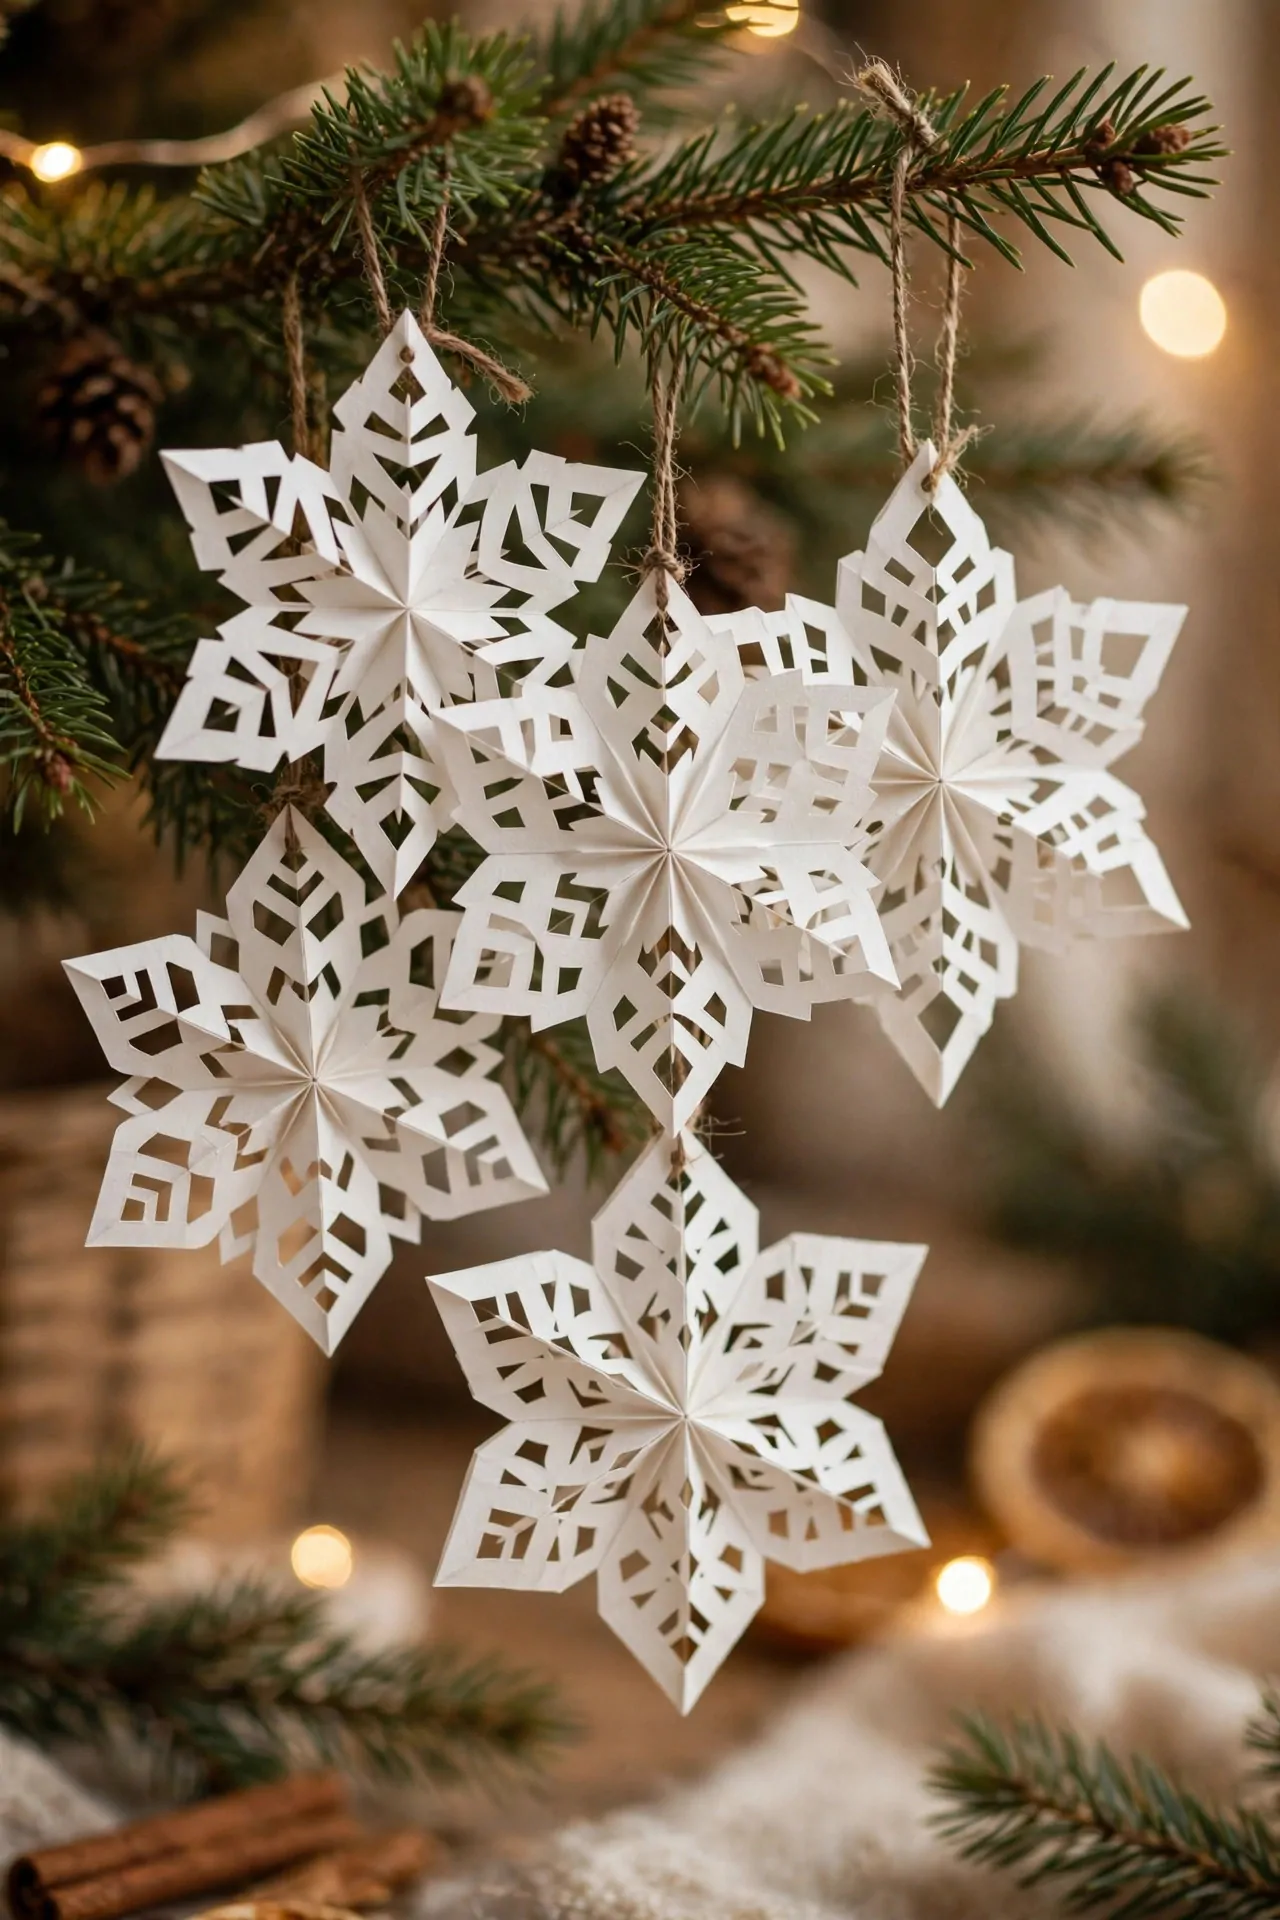
Paper snowflakes are the classic classroom craft for a reason: fold white paper, cut a few shapes, unfold, and every snowflake comes out different. They look lovely layered over a colored paper backing, or sprayed lightly with fake snow for a frosted effect. Hang them near the fairy lights and the cut edges catch the glow.
Try this: use thin paper, not card stock, because thin paper folds crisply and cuts cleanly without tearing.
12. Glitter-Filled Clear Baubles
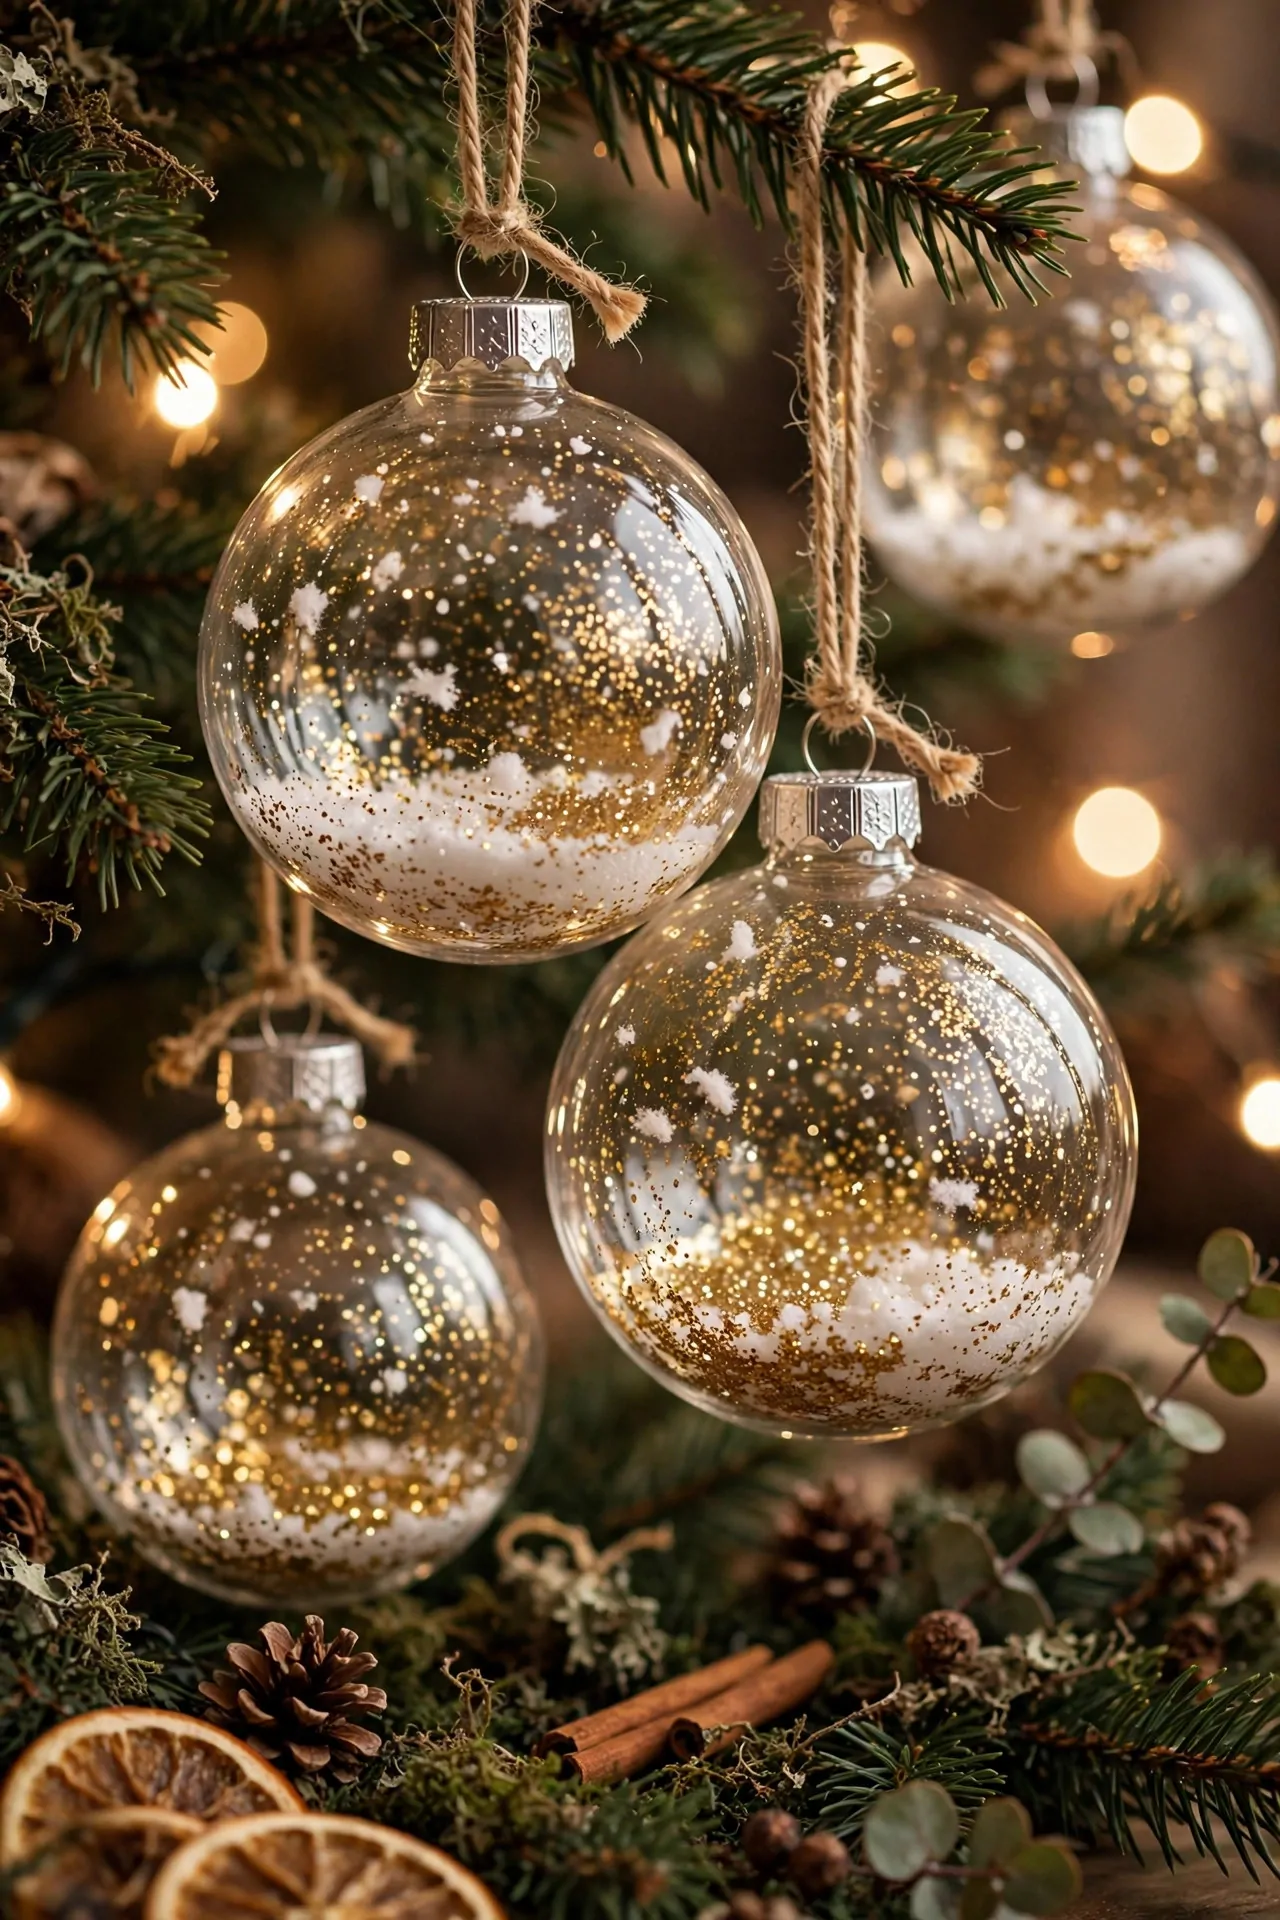
Clear baubles are a blank canvas, and glitter is the easiest way to fill them. Pour in a little glitter, add a pinch of fake snow or a few tiny star confetti pieces, and put the cap back on. Gold glitter looks warm and classic, silver looks icy, and a mix of both catches the light from every angle. They are also the best easy Christmas ornaments for kids, because there is no cutting or baking involved.
Try this: add the glitter first, then the fake snow, so the snow sits on top and the glitter shows through the glass.
DIY variant: fill a set of clear baubles. Materials: clear plastic baubles, fine glitter, fake snow, small funnel, ribbon. Steps: 1. Remove the cap from a bauble. 2. Pour in glitter using the funnel. 3. Add a pinch of fake snow. 4. Replace the cap and secure it with a dab of glue. 5. Thread ribbon through the cap loop and hang.
13. Painted Wood Slice Ornaments
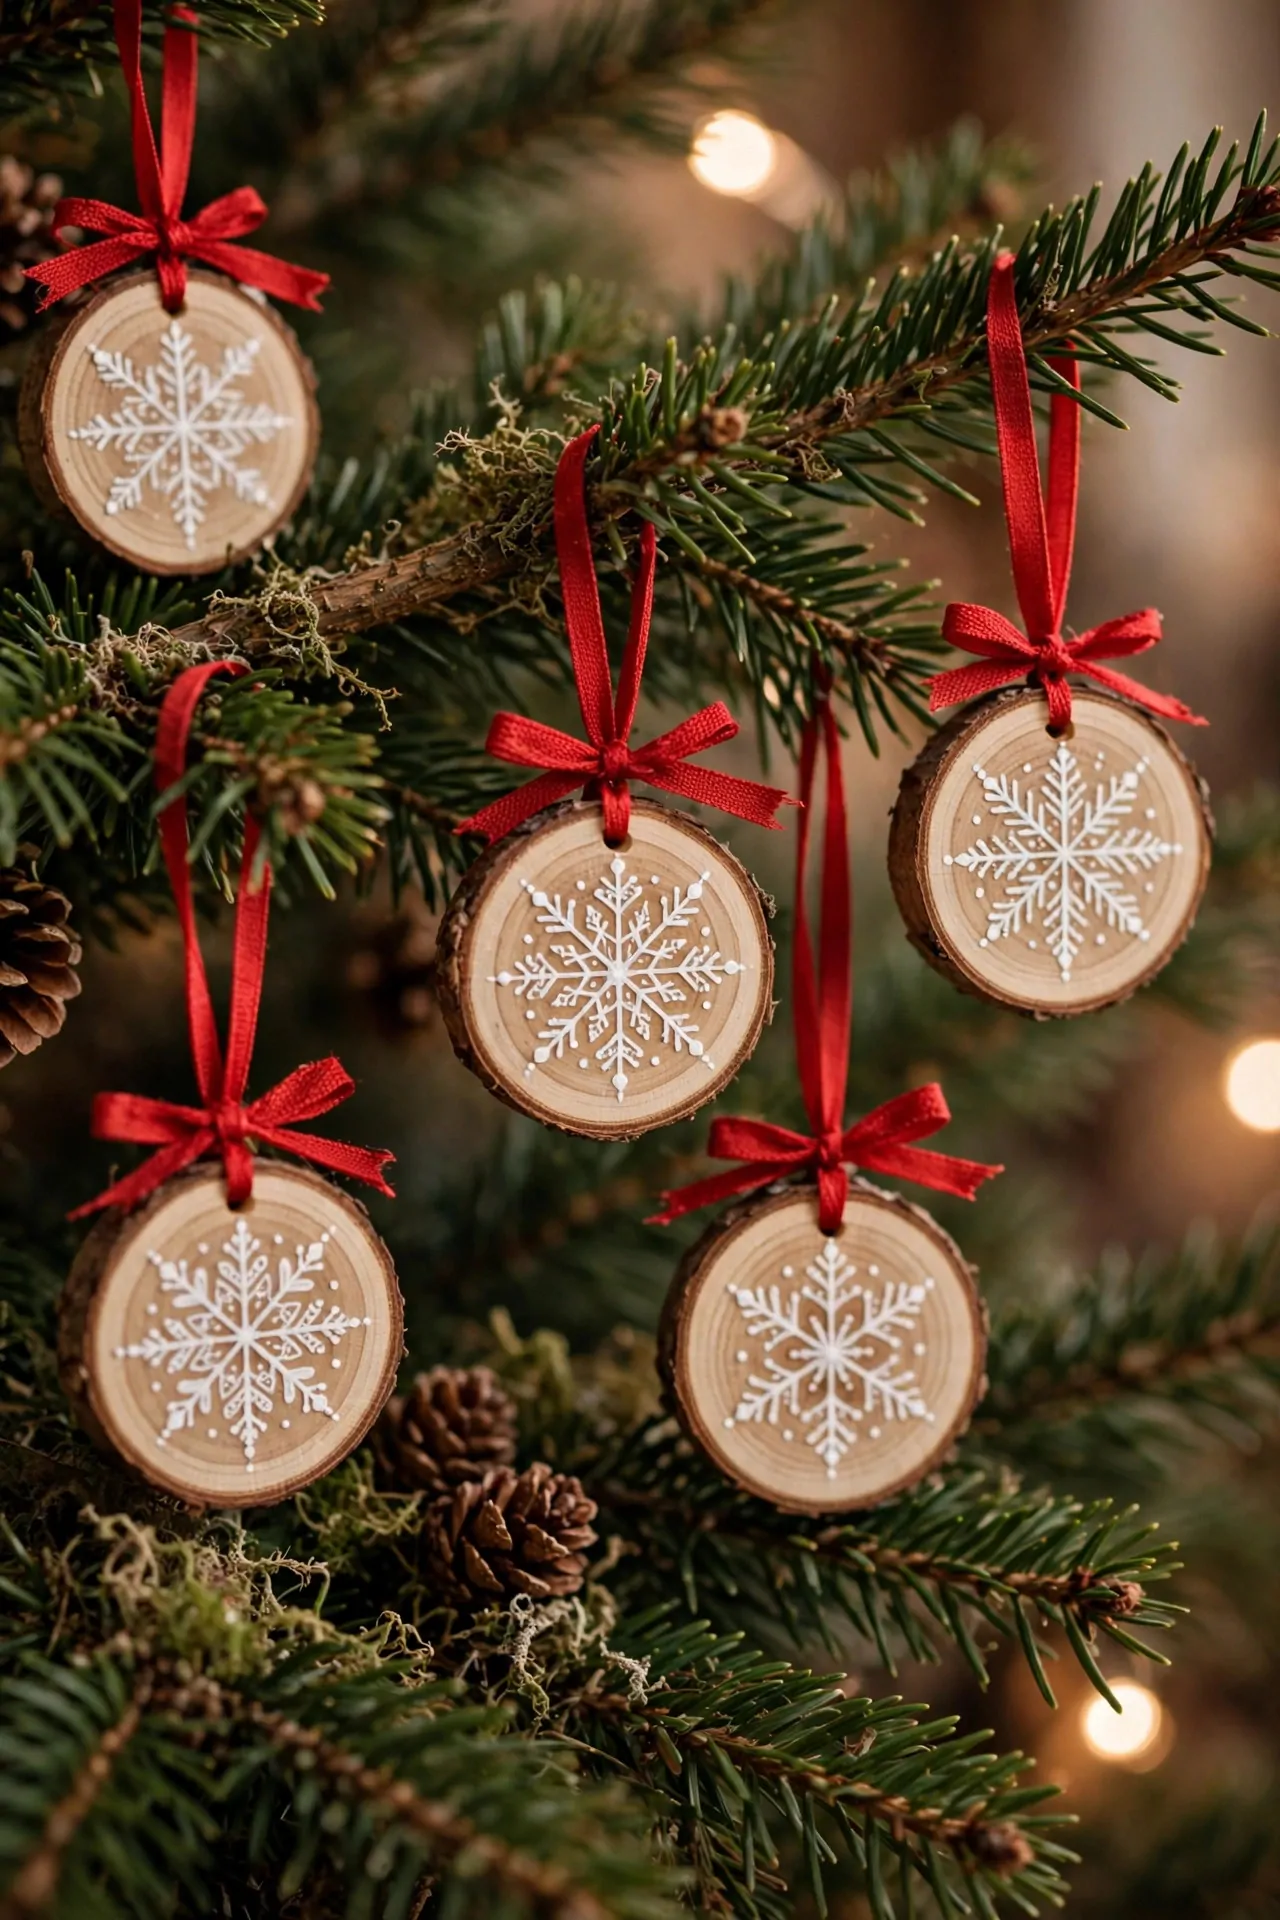
Wood slices bring a rustic, natural texture to the tree, and a little paint makes them personal. Pick up pre-cut wood slices from a craft store, or cut your own from a fallen branch, then stencil on a snowflake, paint a tiny tree, or write a family name with a paint pen. A red ribbon hanger finishes the look and adds a pop of color.
Try this: paint the design in white only, and let the wood grain show through, for a clean Scandinavian feel.
14. Photo Memory Ornaments

A photo inside a clear bauble turns an ornament into a memory you hang on the tree every year. Print a small photo, trim it to fit inside a clear ornament, and roll it gently to slide it in, or decoupage the photo onto the outside with a little craft glue. Family photos, first Christmas photos and pet photos are the ones everyone reaches for first.
Try this: use a photo from the year the ornament was made, and write the year on the back of the bauble with a paint pen.
15. Mini Embroidery Hoop Ornaments
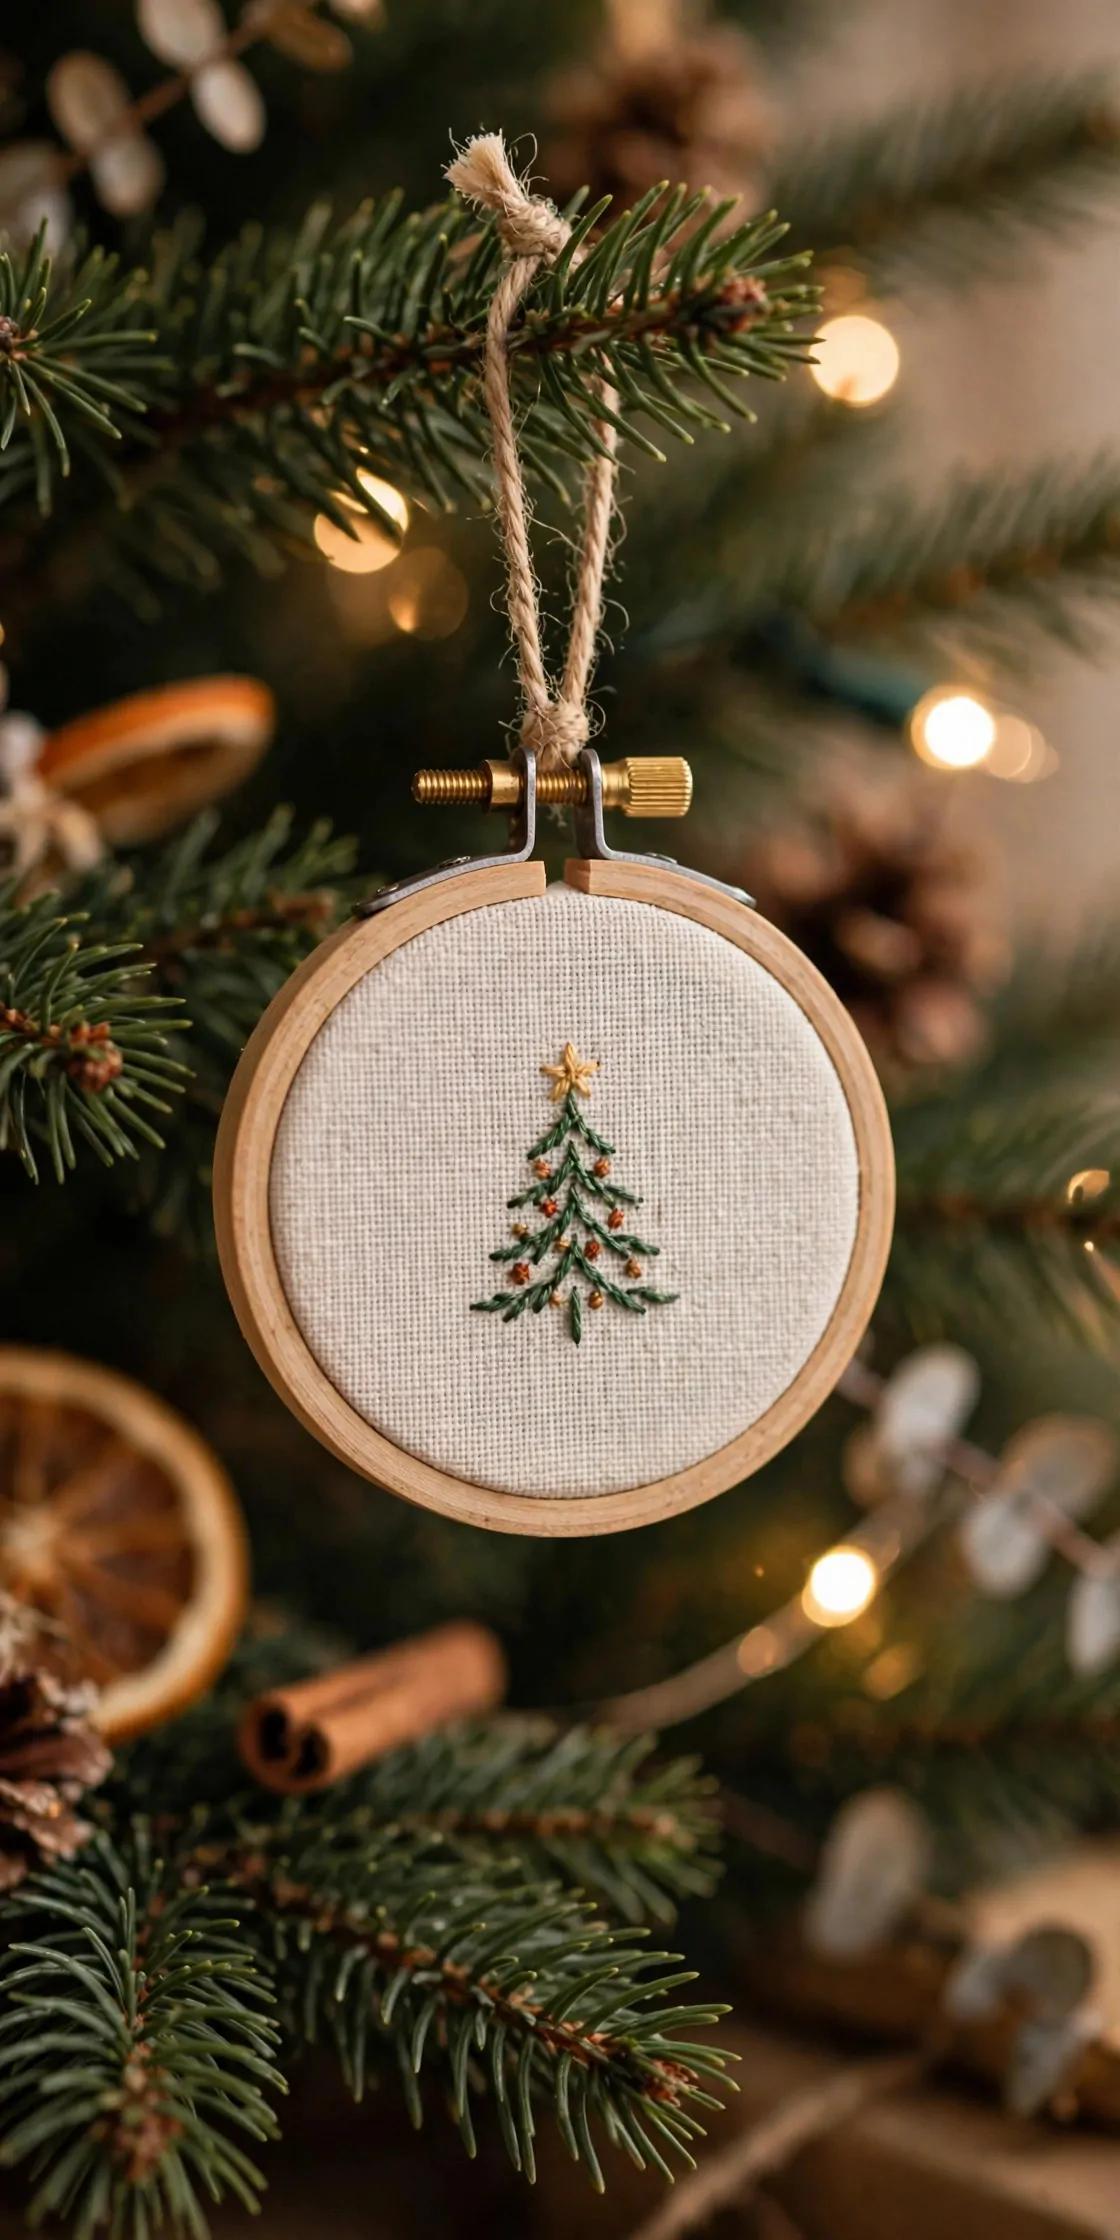
A mini embroidery hoop turns a scrap of fabric into a tiny framed picture for the tree. Stretch linen or cotton inside the hoop, stitch or glue on a small tree, star or initial, and tie twine to the top screw for hanging. They look especially good in a group, with different fabrics and designs mixed together.
Try this: use fabric scraps that match your tree colors, so the hoops feel like part of the scheme instead of random extras.
16. Rustic Twig Star Ornaments
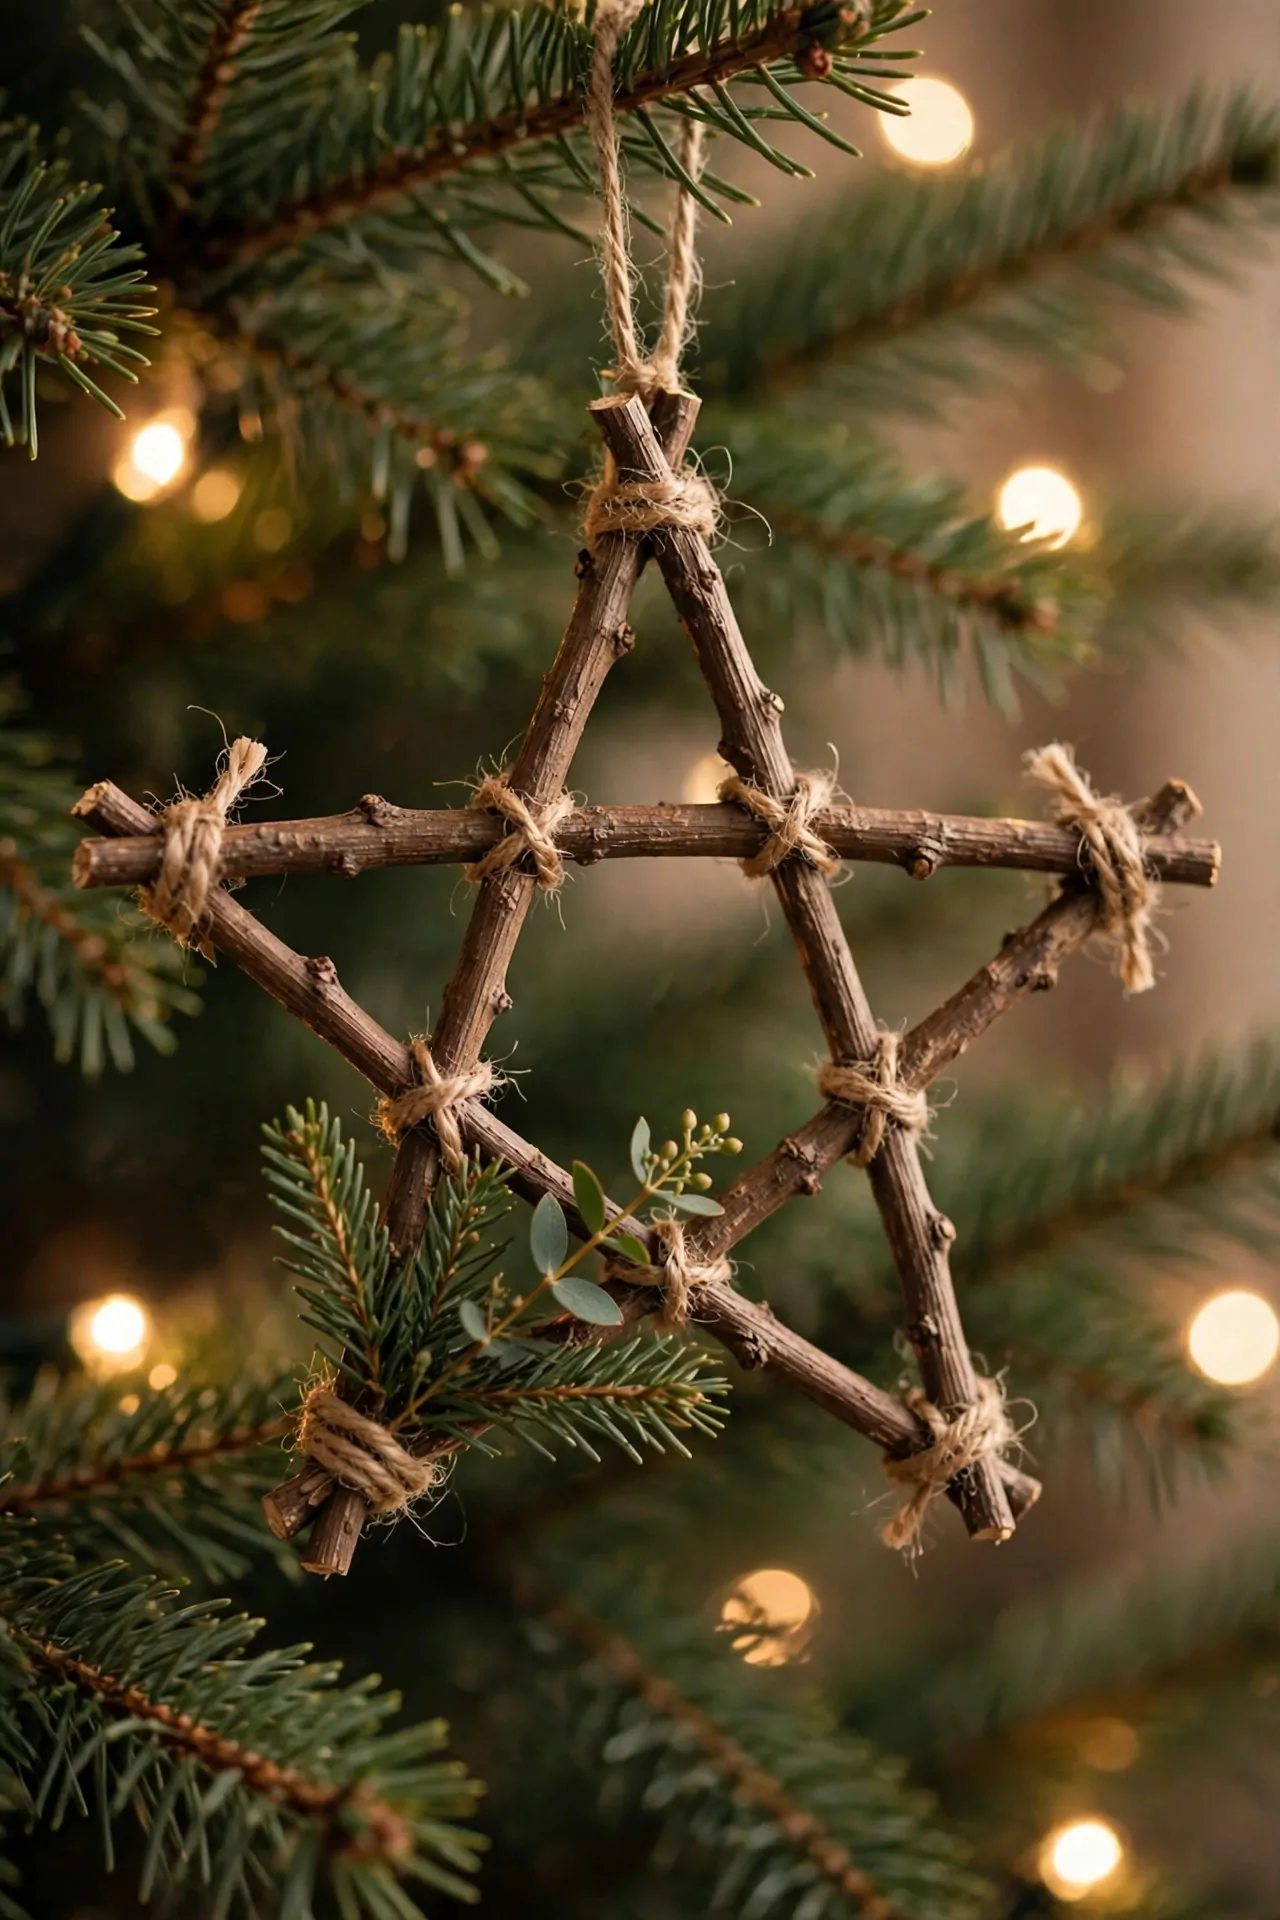
Twig stars are made from found sticks, hot glue and twine, and they add just the right amount of homespun charm to a tree. Lay five twigs into a star shape, glue the corners, and wrap twine around each joint to hide the glue and add texture. A sprig of greenery or a tiny red berry tucked into one corner finishes it.
Try this: gather twigs of roughly the same thickness, so the star sits flat and the corners glue neatly.
17. Wood Bead Wreath Ornaments
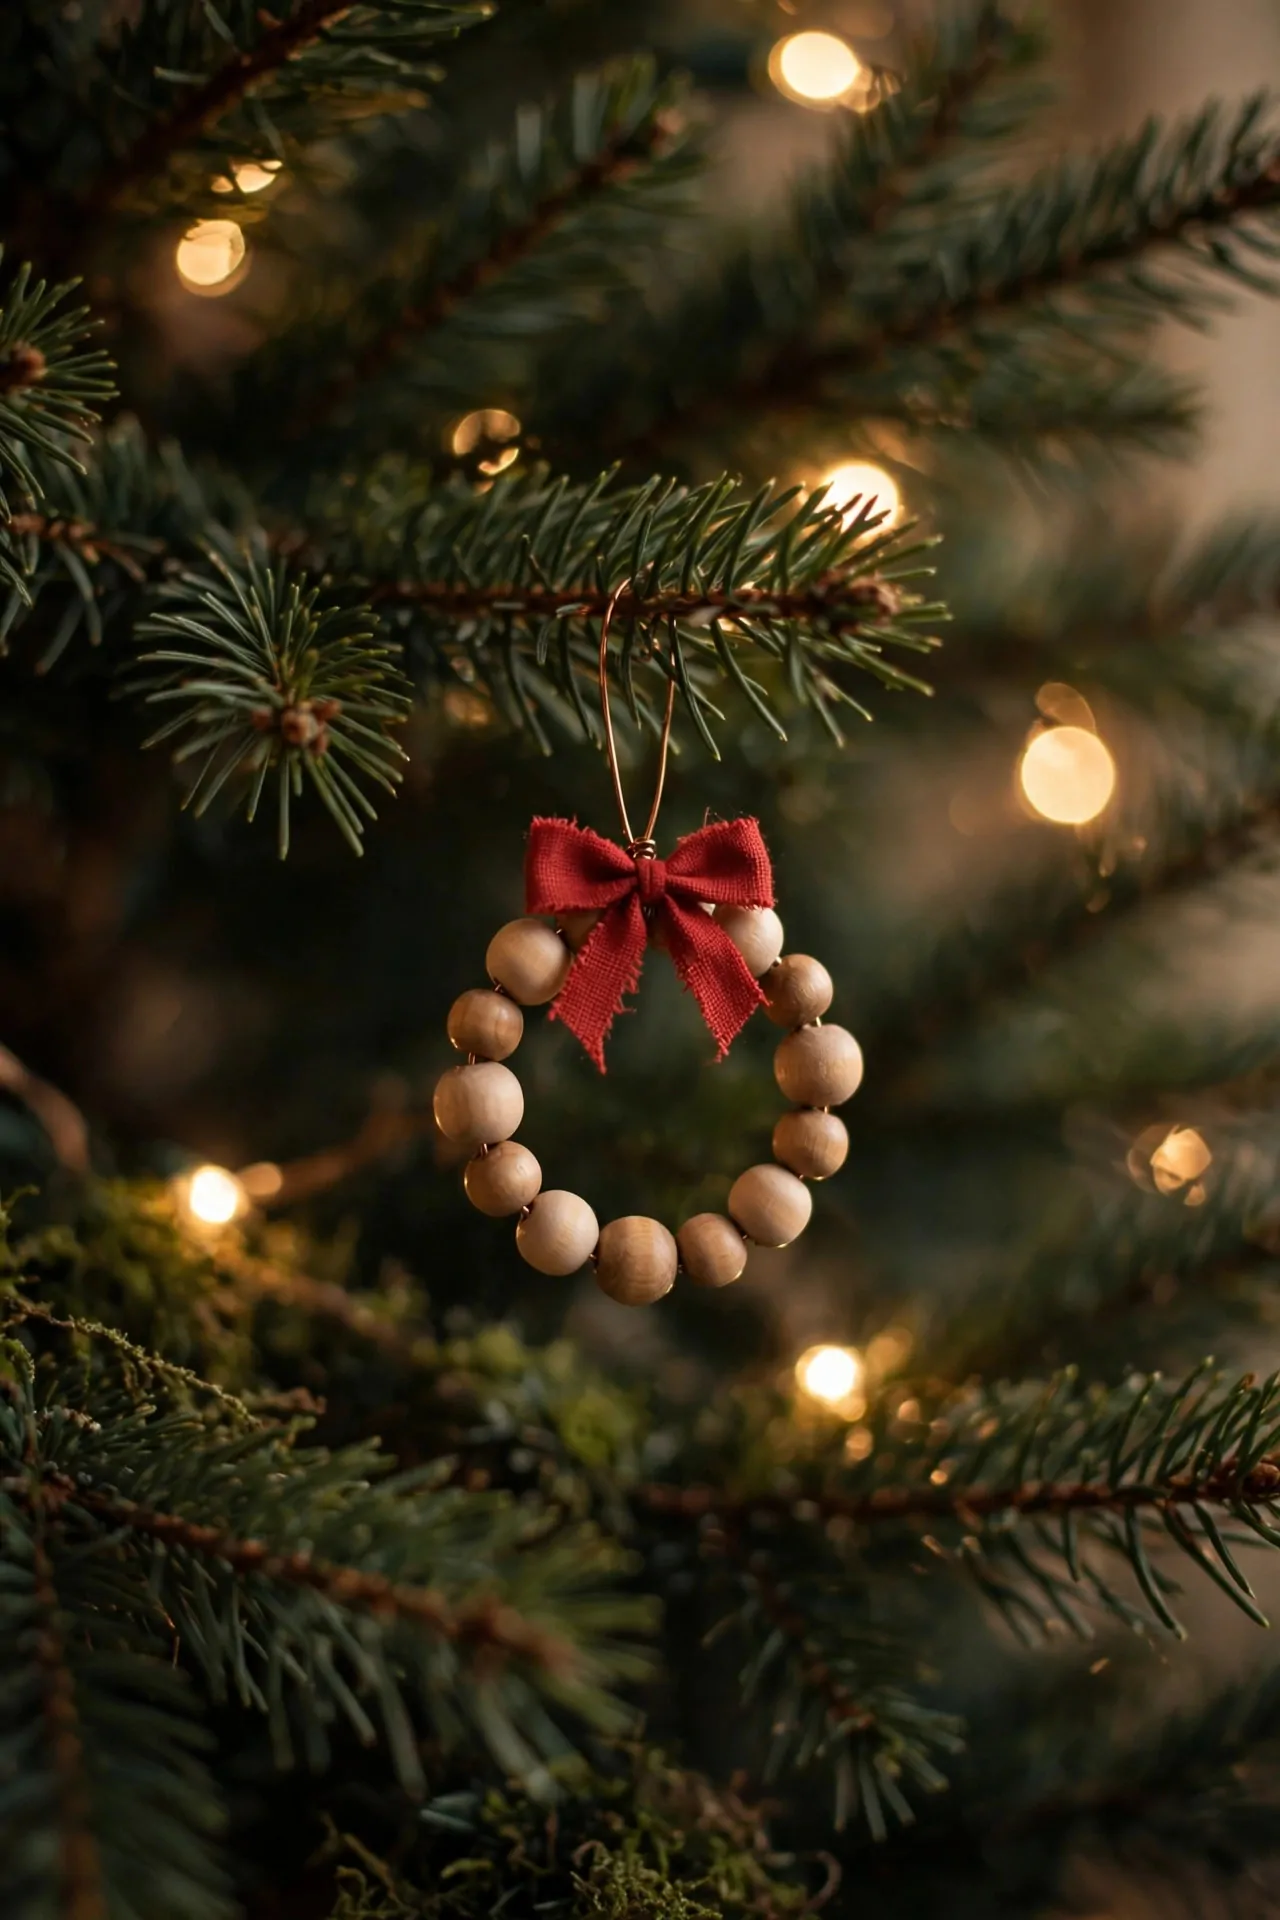
Wooden craft beads, wire and string are all it takes to make a small Scandinavian-style wreath ornament. Thread natural wood beads onto a circle of wire, twist the ends together, and add a tiny red bow at the top. They are light, quick to make in a batch, and pretty enough to hang in a window as well as on the tree.
Try this: mix two bead sizes on the same wreath, alternating large and small, for a shape that looks handmade instead of machine-made.
18. Beginner Macrame Ornaments
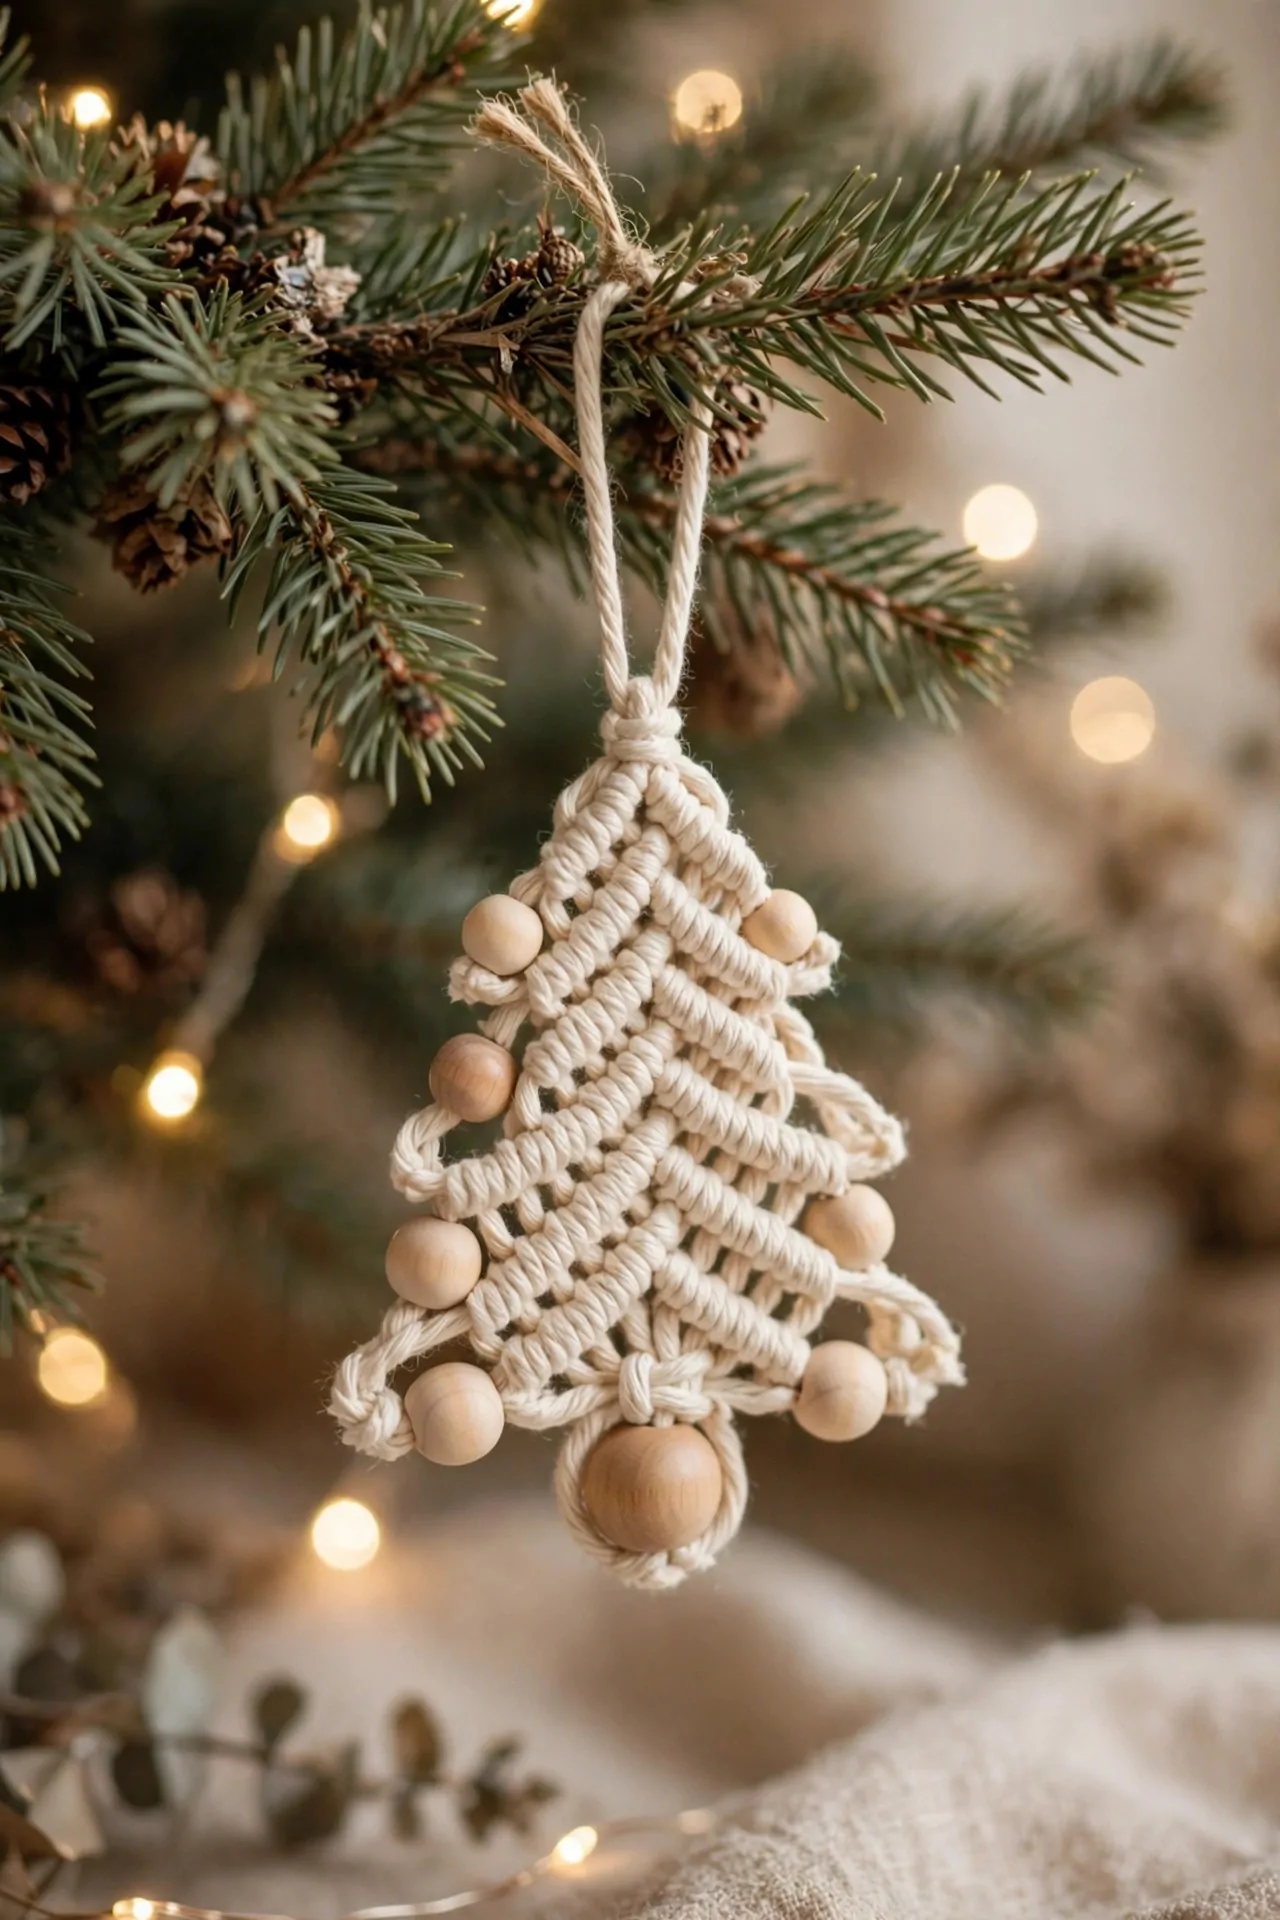
Macrame sounds fancy, but a beginner tree ornament is just a few knots repeated down a cord. Start with a wooden ring or a cinnamon stick at the top, knot cream cotton cord into a simple tree shape, and add a wooden bead at the point for a star. It takes an hour or two, costs very little, and the soft texture balances all the glitter on the rest of the tree.
Try this: use a thicker cord for your first macrame ornament, because thick cord shows the knots clearly and is easier to work with.
19. Vintage Decoupage Ornaments
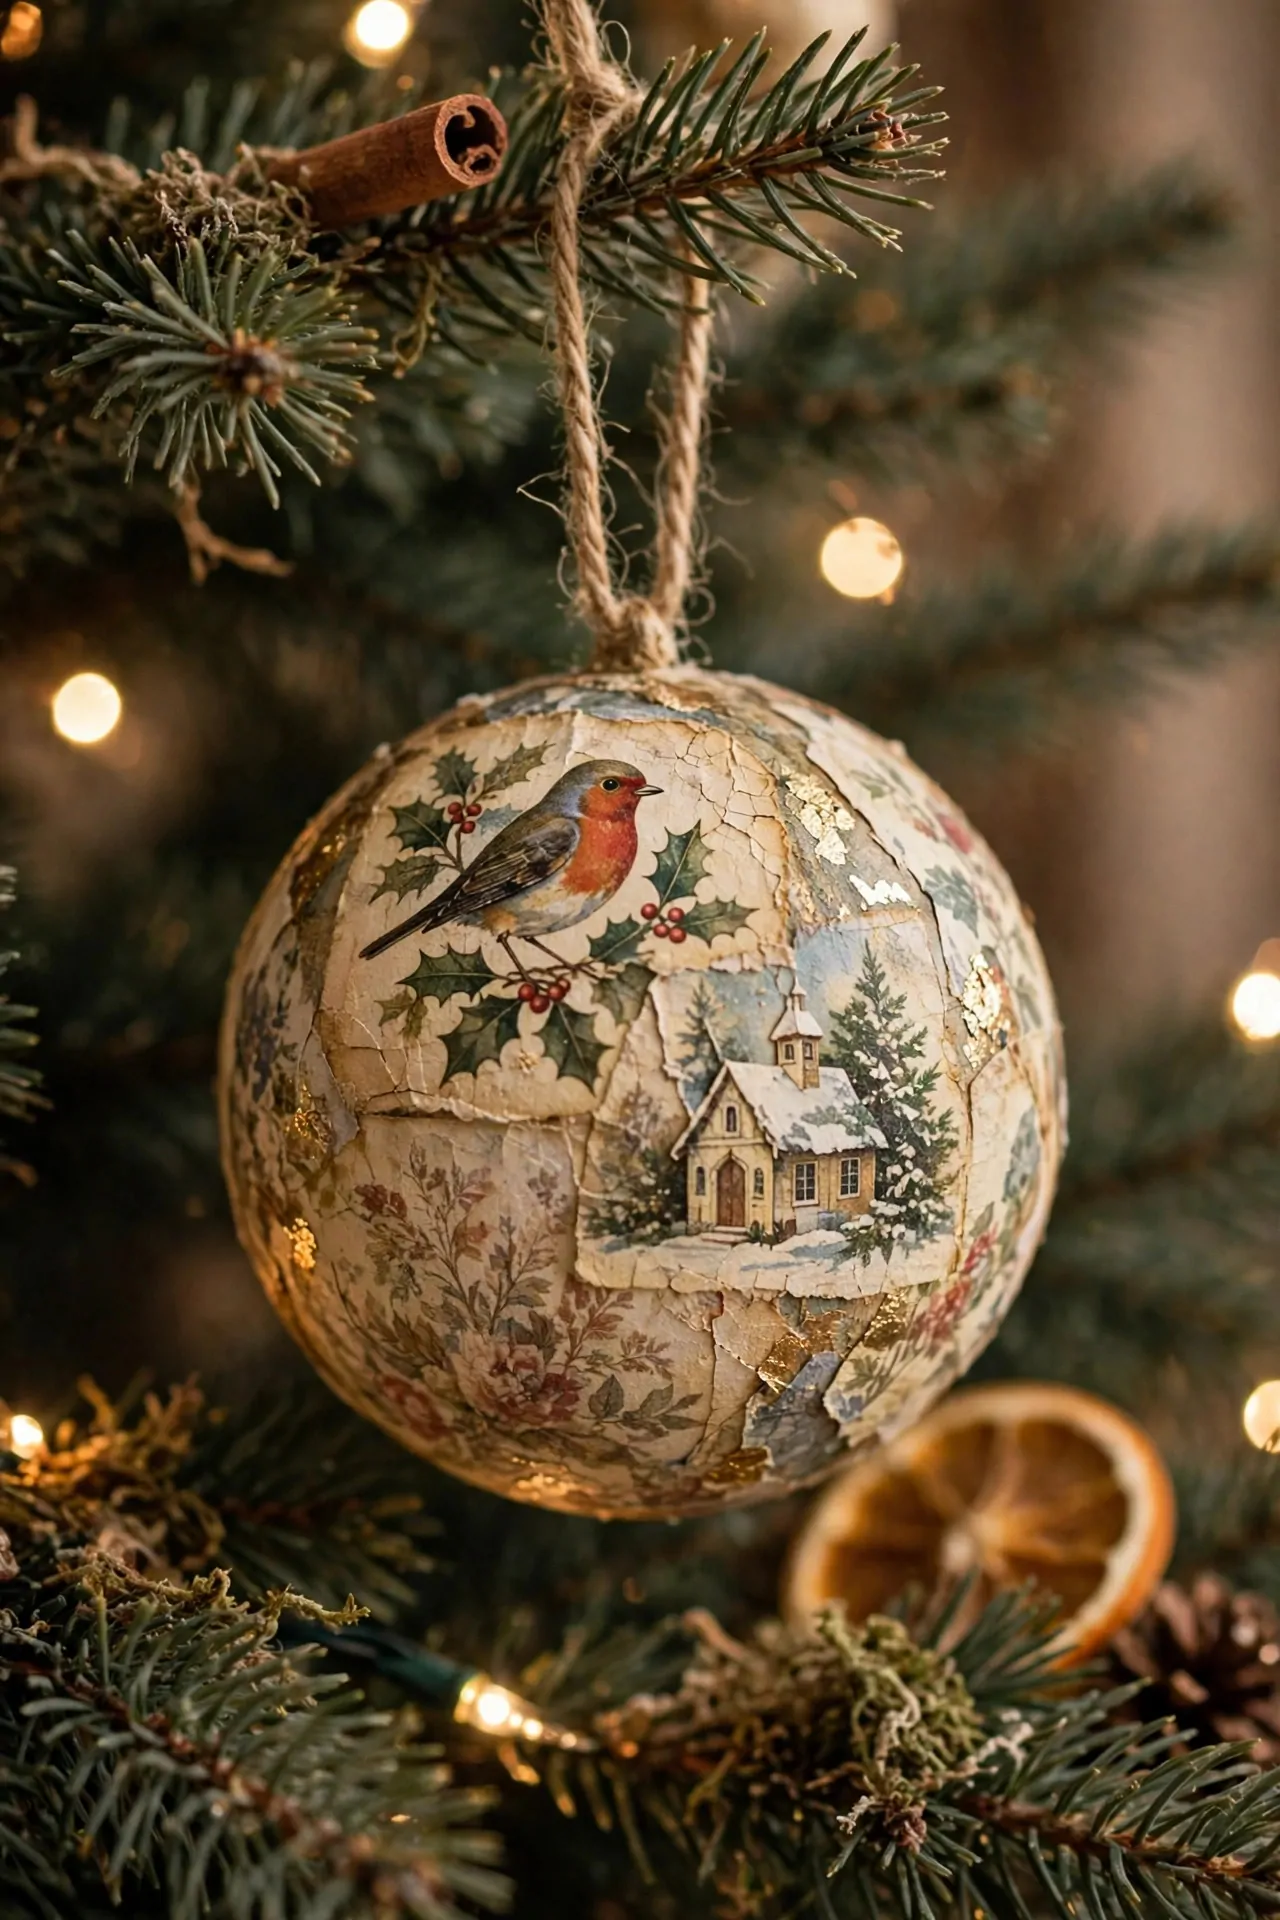
Decoupage turns a plain bauble into a vintage treasure. Tear or cut images from old Christmas cards, vintage wrapping paper or patterned napkins, and glue them onto a bauble with decoupage glue, smoothing out the bubbles as you go. A light coat of glitter over the top and a velvet ribbon hanger make it look like something from a Christmas market.
Try this: tear the paper edges instead of cutting them, because torn edges blend into the bauble and disappear under the glue.
20. Dried Botanical Ornaments
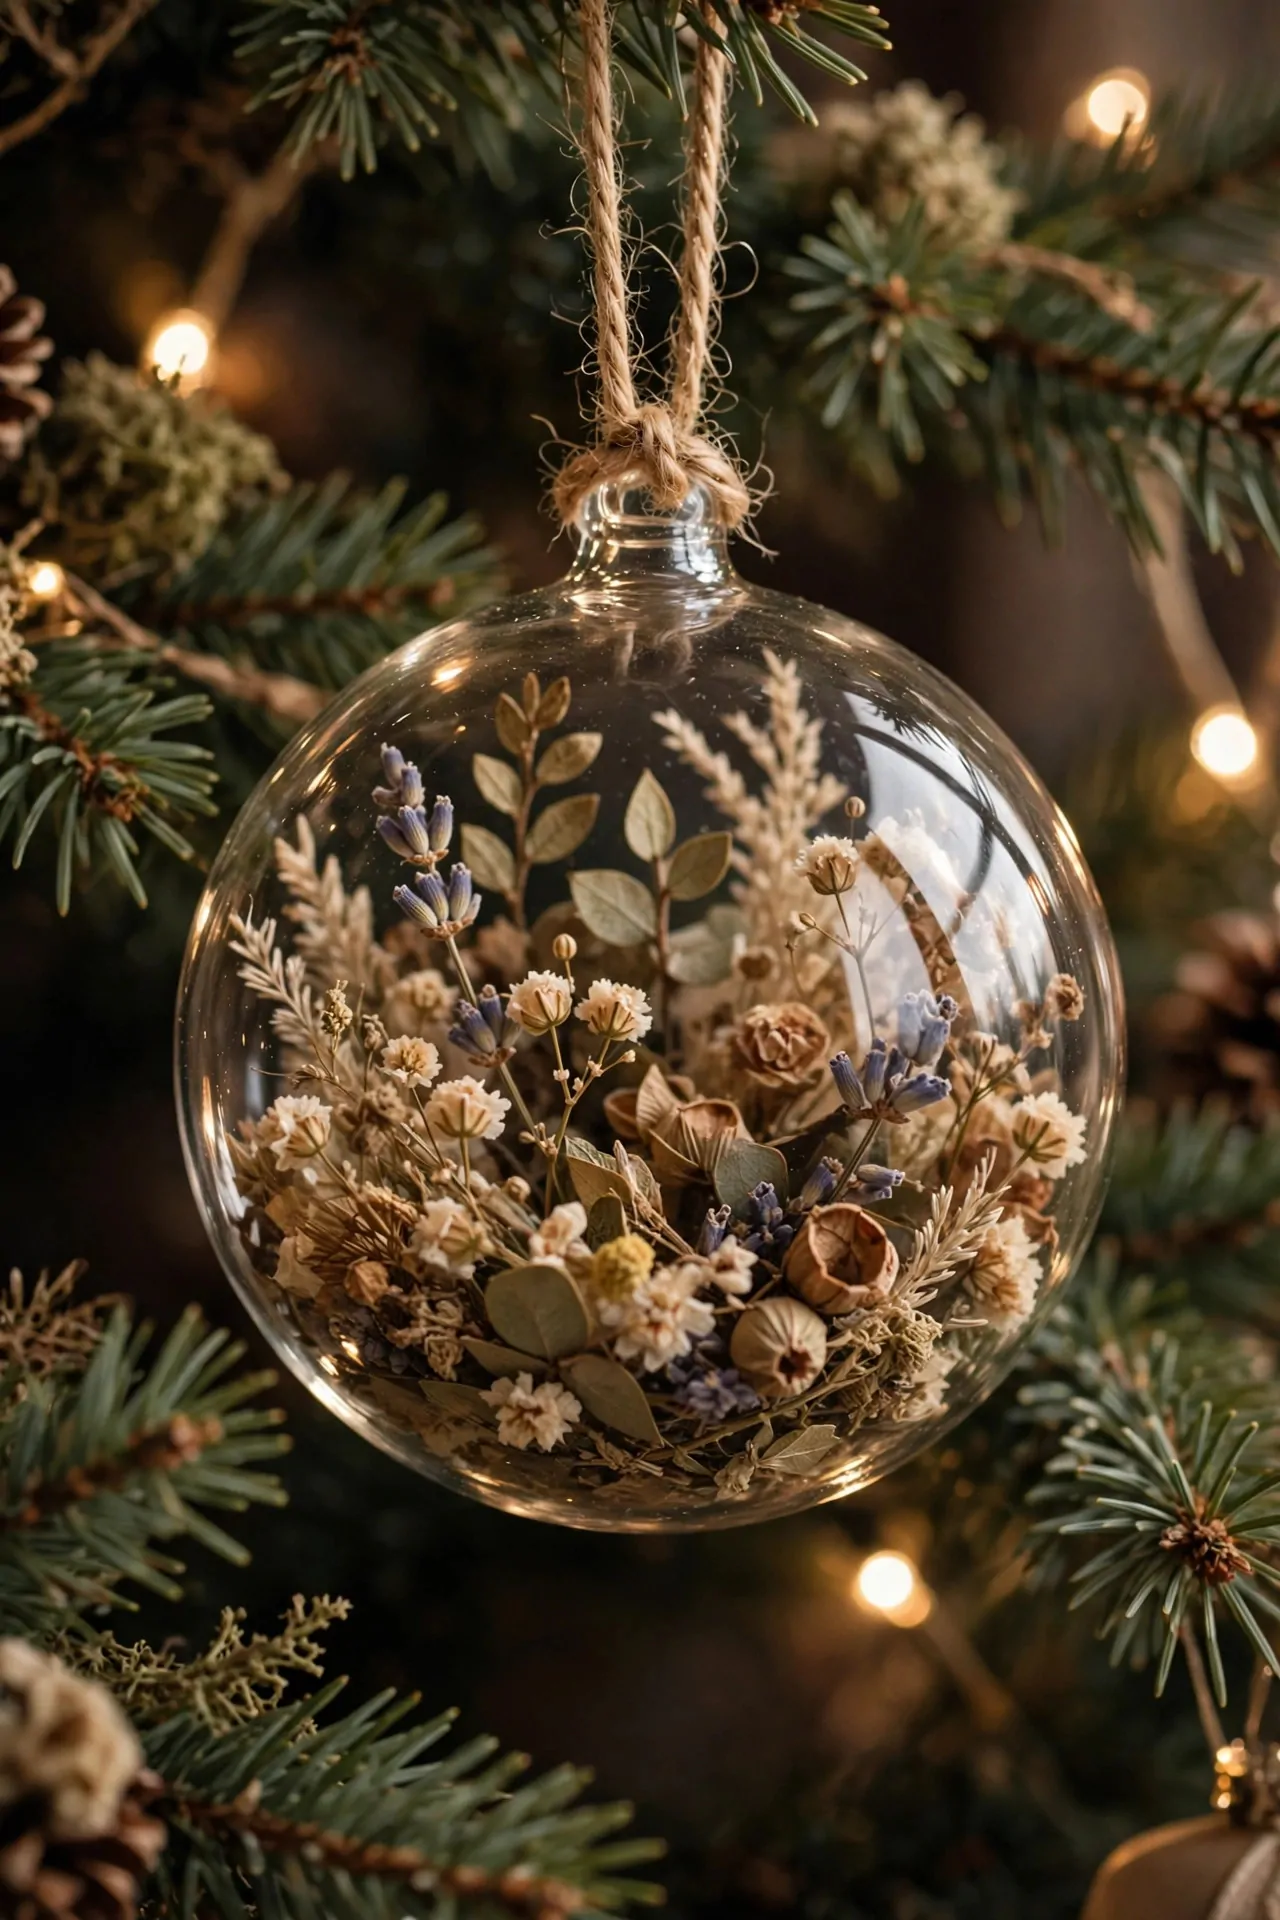
Dried flowers and leaves pressed inside a clear bauble look like a tiny garden hanging on the tree. Layer dried petals, small leaves and a sprig of lavender inside a clear ornament, and the colors stay soft and natural all season. They are a lovely way to use flowers from a summer garden, and they pair beautifully with the dried orange slices.
Try this: dry the flowers flat between book pages for a week before you use them, so they lie neatly inside the bauble.
21. Upcycled Sweater Ball Ornaments
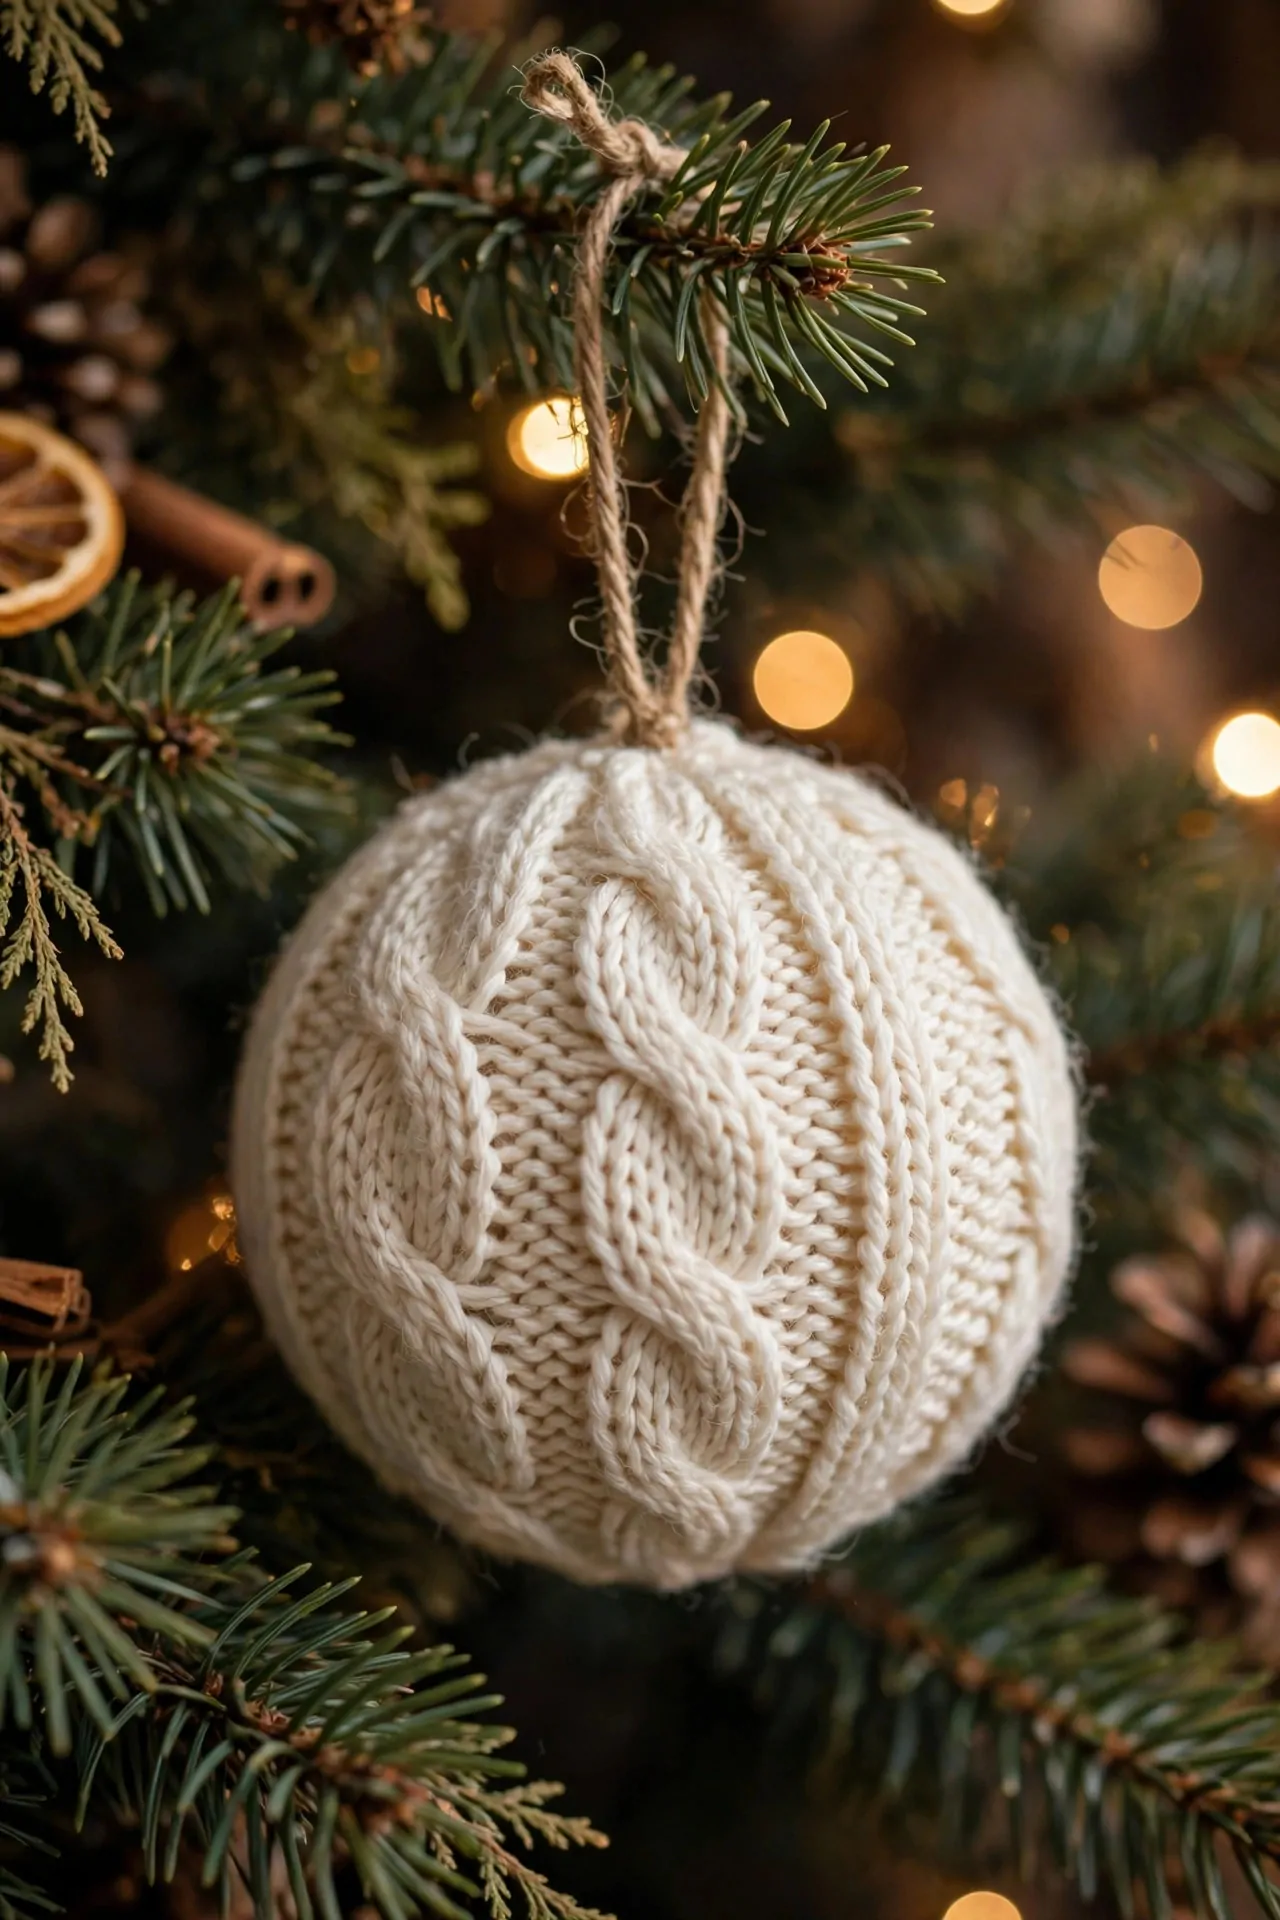
An old sweater that is too worn to wear makes the coziest ornaments on the tree. Cut circles from the knit fabric, wrap them around foam balls and glue them in place, then add a twine loop for hanging. Cream and red knits look classic, and a fair isle pattern looks like it was made for Christmas.
Try this: felt the sweater first by washing it hot, so the knit tightens up and will not unravel when you cut it.
Pick Your Method: Which Ornament Should You Make First?
| Method | Time per ornament | Cost | Kid-friendly | Lasts |
|---|---|---|---|---|
| Salt dough | An afternoon, plus drying | Pennies | Yes, with help | Years, if sealed |
| Dried orange slices | An afternoon, plus drying | A few dollars | Yes, with help | One season |
| Cinnamon bundles | Minutes | Pennies | Yes | Years |
| Felt and yarn | Under an hour | A few dollars | Yes | Years |
| Paper stars and snowflakes | Under an hour | Pennies | Yes | A season or two |
| Clear fillable baubles | Under half an hour | A few dollars | Yes | Years |
| Wood slices and twigs | Under an hour | A few dollars | With supervision | Years |
| Macrame | One to two hours | A few dollars | Older kids | Years |
A Few Last Tips Before You Start Crafting
Start with a starter kit and you can make almost everything in this list: clear plastic ornaments, acrylic paint and brushes, glitter, decoupage glue, a hot glue gun, felt sheets, ribbon and twine, ornament hooks, and natural finds like pinecones and cinnamon sticks. Pick two or three materials and repeat them all over the tree, because homemade Christmas ornaments look best when they share a palette. Seal salt dough ornaments with clear acrylic varnish to protect them from moisture, as Michigan State University Extension recommends, and they will last for years. Keep hot glue and the oven for the adults, give kids the safe jobs like threading beads and wrapping yarn, and store finished ornaments wrapped in tissue in a sturdy box so they survive until next December.
Conclusion
These DIY Christmas ornaments prove a handmade tree does not need fancy supplies or expert skills, just an afternoon, a kitchen table and a few things you already have. Start with the quick wins like cinnamon bundles and pom-poms, then try one keepsake project like salt dough handprints that your family will hang up every year. Save the DIY Christmas ornaments you love most and make a batch with the kids this weekend. Handmade Christmas ornaments are the ones guests ask about first, so make a few extra to give away. If you are still dressing the tree, our Christmas tree decoration ideas and Christmas tree ideas show how to style the whole tree around handmade pieces, our vintage Christmas decor ideas are full of the warm, nostalgic looks these ornaments were made for, and our flocked Christmas tree ideas pair beautifully with frosted pinecones and white-painted wood slices. For the rest of the house, our Christmas decor ideas will help you carry the handmade look beyond the tree. HGTV’s collection of 85 DIY Christmas ornaments is a great place to browse for even more handmade inspiration.
Happy crafting, and may your tree be full of ornaments with stories behind them.


